Revised 7th August 2021
I first learnt how to make lemon curd in a home economics class at school (a long time ago, although it really doesn’t feel like it). Much to my delight, when I took it home, it was a huge hit with my mum and grandparents. And for a while, my family got slightly bombarded with jars of lemon curd.
Lemon curd is naturally gluten free, easy to make and can be enjoyed in endless ways. It’s a perfect tasty filler for sponge cakes, muffins and Swiss rolls and is gorgeous when swirled into a creamy yoghurt. It makes the ideal snack too, when spread on fresh gluten free bread or crackers.
When making this batch of lemon curd, I found by using a stainless steel bowl rather than pyrex one, it reduced the cooking time. Although you are also able to make lemon curd directly in a heavy bottomed pan, I prefer to allow it to cook out over a pan of water, as it doesn’t heat up too quickly, which prevents it from curdling. The texture of the curd is smoother too when using this method.
Ingredients (Makes approx. 550g)
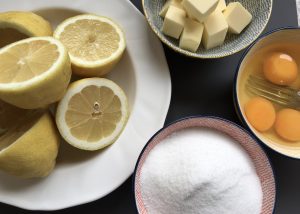
225g caster sugar
100g butter – cubed
3 eggs plus 1 egg yolk (you can use your left over egg white up in an omelette or scrambled egg)
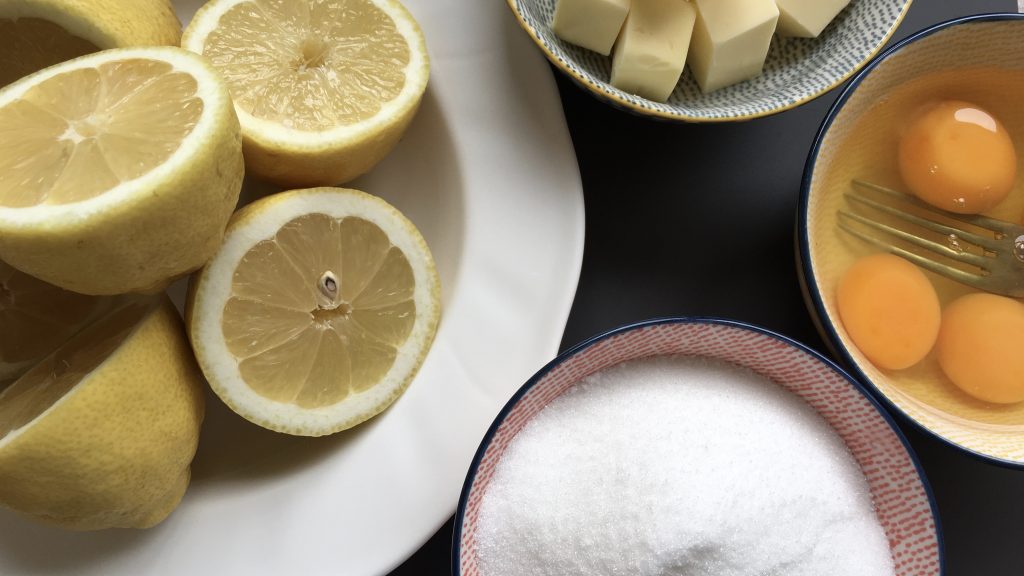
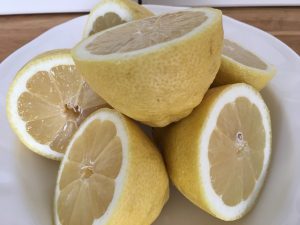
Juice of 3 large lemons
Method
Beat the eggs really well – this will give you a much smoother texture to the finished curd, as I feel it cooks the ‘whole egg’ more evenly.
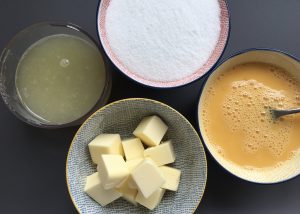
Pop all the ingredients into a heatproof bowl (ideally stainless steel as I previously mentioned). Set the bowl over a pan of simmering water and whisk constantly until the mixture starts to thicken (whisking rather than stirring is far better – again it’s all about getting the very best texture).
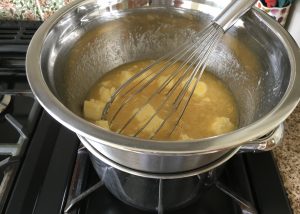
It will probably take about 10 minutes for the curd to cook out and It will resemble nice thick custard when it is done. You can do a quick check to be sure it’s ready, by putting a tiny amount onto a saucer, popping it in the fridge for 5 minutes and seeing that it’s the thickness you are happy with – if it’s not, simply allow it to cook out for a bit longer.
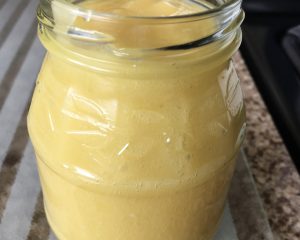
Once the curd is cooked carefully pour into warmed jam jars. Allow to cool. Then pop a disk of baking parchment/greaseproof paper directly onto the curd, secure the jar with the lid and pop into the fridge. It will keep for up to 2 weeks in the fridge.
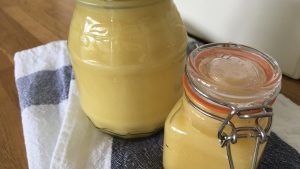
This lemon curd recipe I’ve shared was taken from ‘The Dairy Book of Home Cookery’. Do hope you get to pop a batch together.
For now
Liz x

