I’m thrilled to be sharing this recipe for gluten free choux buns with you. As I know what a big deal it is when following a gluten free diet to still be able to enjoy scrumptious treats that pack the same punch as their gluten filled equivalents. And these gf choux buns certainly do just that.
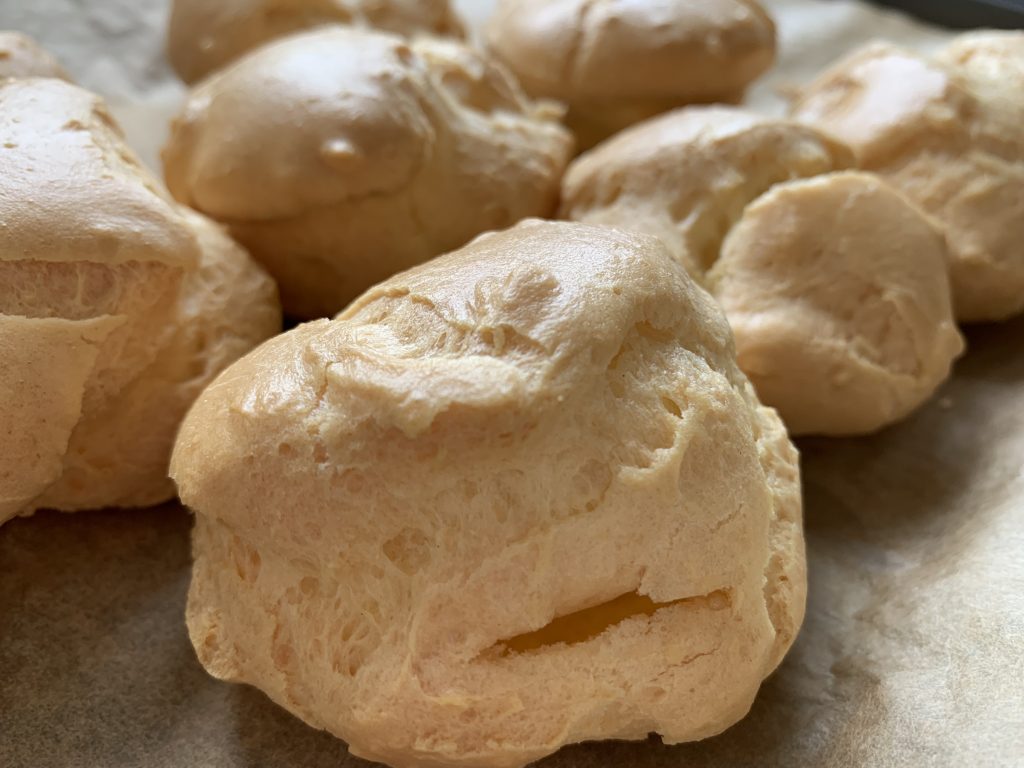
This was my first-time making gluten free choux buns, and I must be honest, I did hold my breath a few times in the process. But despite not feeling overly confident with the choux pastry batter as I spooned it out onto the baking tray, it miraculously transformed in the hot oven into round puffs of light, crisp pastry balls. Oh, the joy of a successful bake!
The original recipe I used to make these gluten free choux buns came from my trusty copy of The Dairy Book of Home Cookery New edition for the 90’s. I love this book, as it’s crammed with no nonsense recipes that work and are easy to follow. It’s a standard recipe book. But as with most recipes, the ones in this book can be easily adapted to gluten free creations instead.
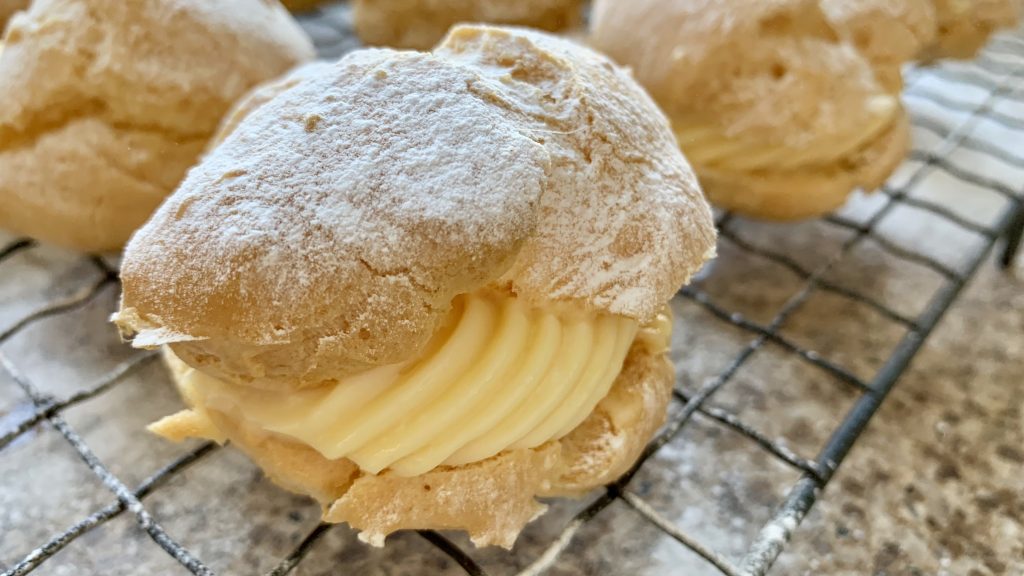
On this occasion I filled the choux buns with plenty of delicious, sweet pastry cream and simply finished them with a light dusting of icing sugar and they were gorgeous!
Of course, there’s many other delightful ways of serving up choux buns; I’ve added a few suggestions below. I’m sure you’ll have plenty ideas of your own too.
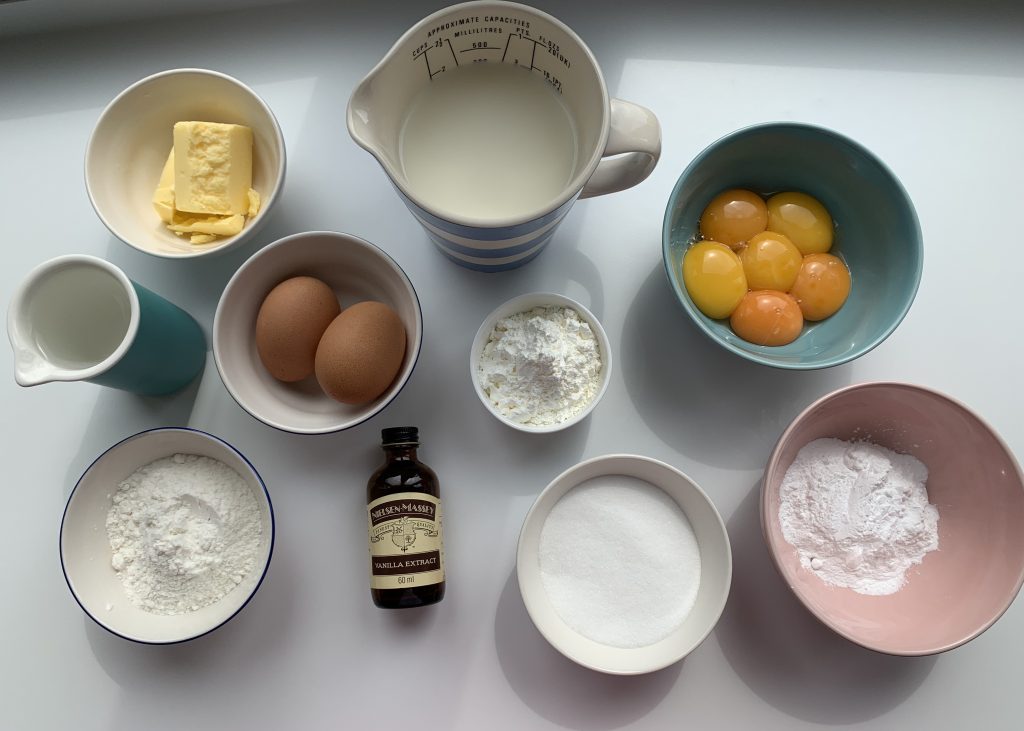
Ingredients
For the choux pastry (makes 9 medium sized buns)
65g (2½oz) gluten free plain flour, sift twice or whisk for a few moments to add a touch of air (I used this one from ASDA)
150ml (¼pint) water
50g (2oz) salted butter (if using unsalted add a pinch of salt to the water)
2 large eggs, well beaten (room temp)
For the pastry cream
450ml (¾pint) full fat milk
6 large egg yolks
110g (4oz) caster sugar (it’s fine to reduce the sugar a little should you wish)
50g (2oz) *cornflour
2 teaspoons *vanilla extract
To finish
Icing sugar, sifted
Method
To make the pastry cream:
Pour the milk into a heavy bottomed saucepan and bring to the boil.
In large bowl mix together the egg yolks, sugar, cornflour and vanilla extract to make a smooth paste.
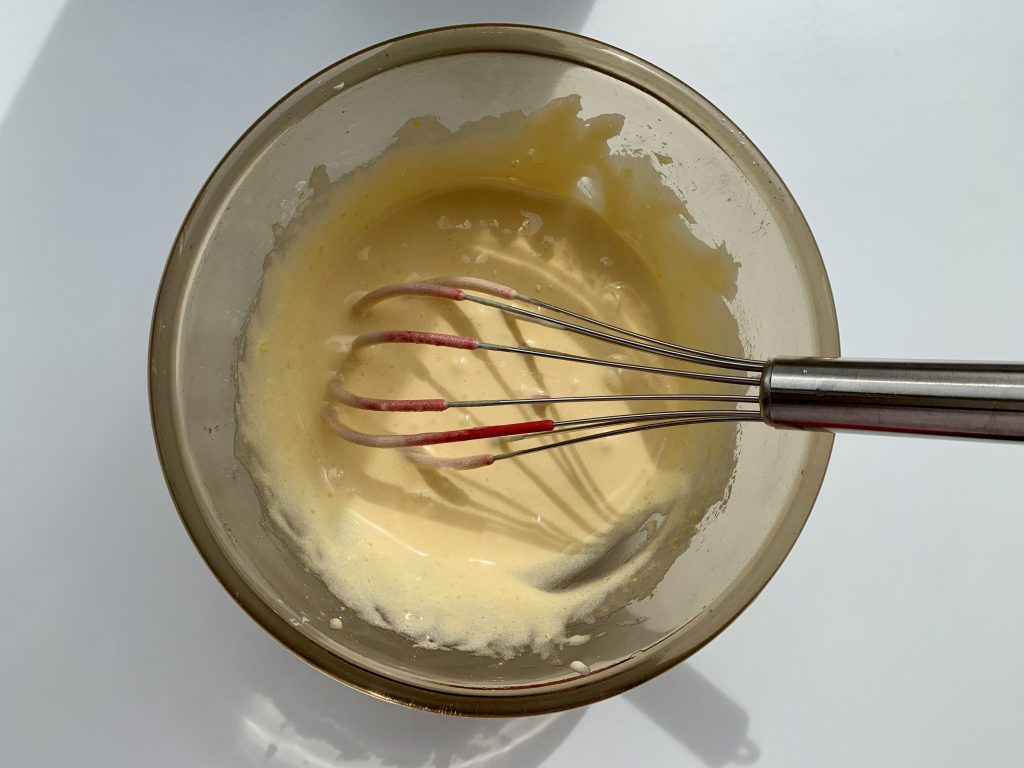
Once the milk has come to a boil, slowly pour it onto the egg mixture, whisking as you go. If you can get someone to pour the milk in whilst you whisk that would be perfect.
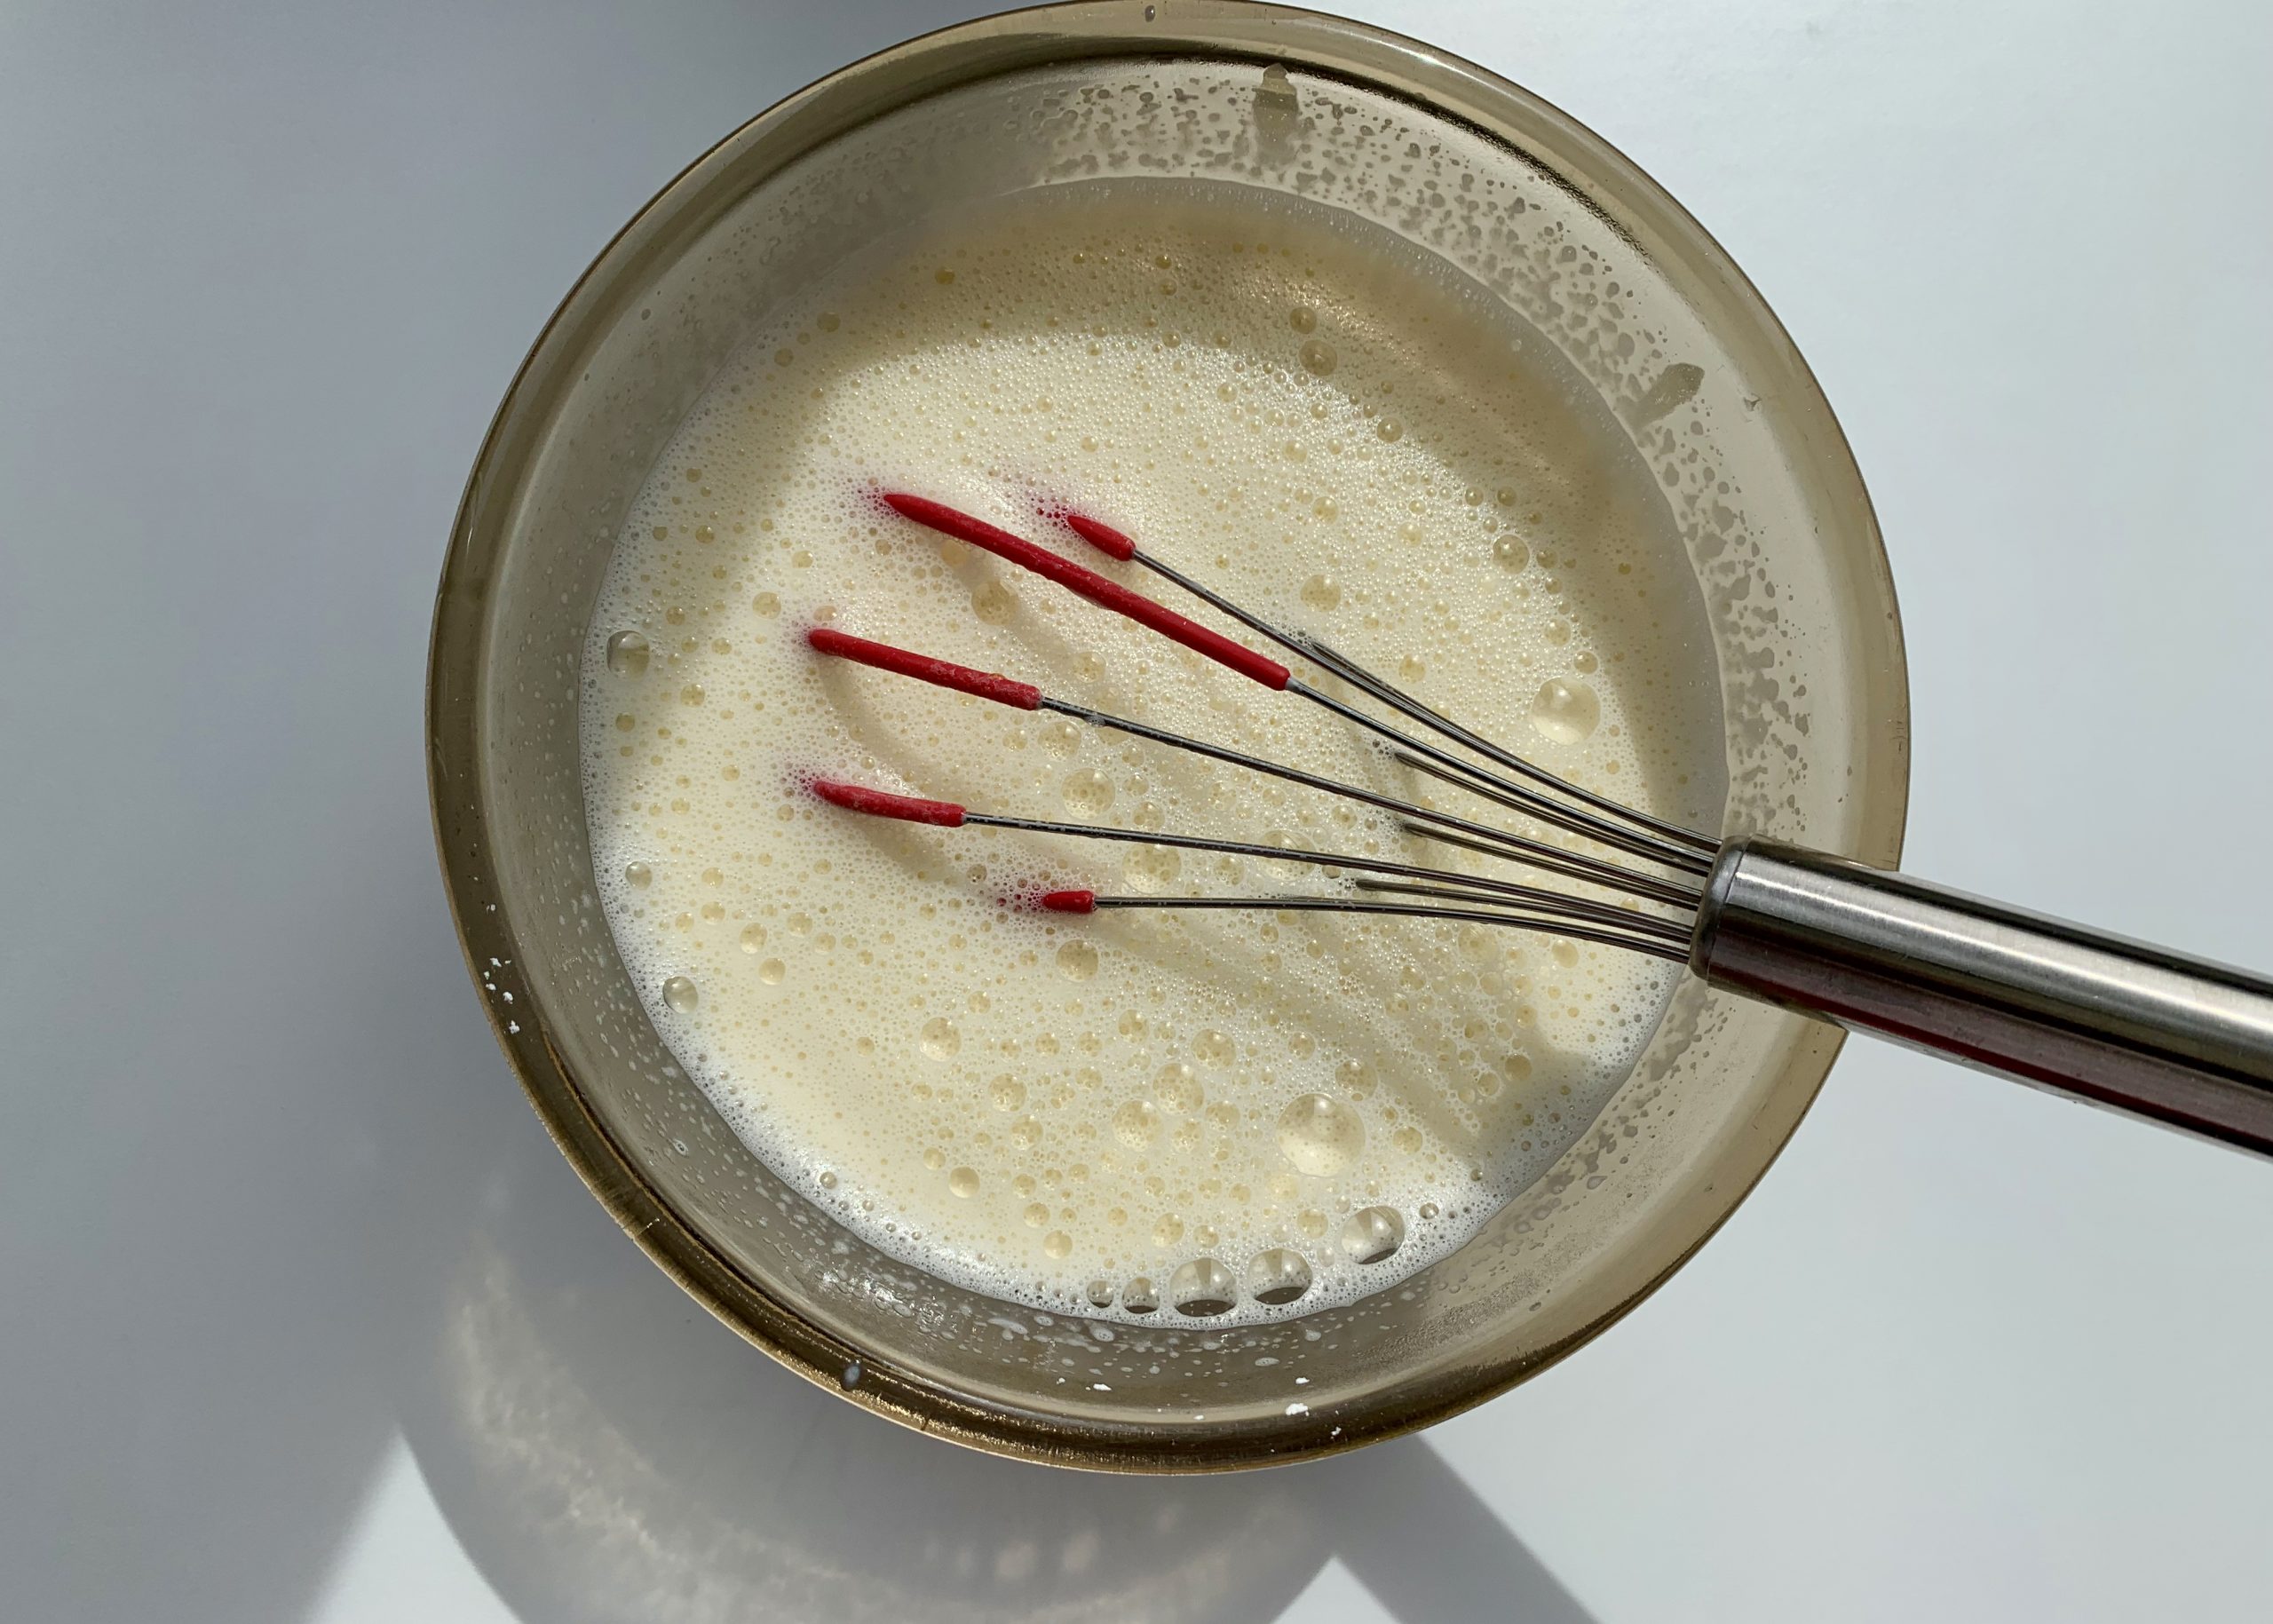
Pour the mixture back into a clean pan (a clean pan will help prevent the pastry cream from catching/burning) and place back on the heat.
Gently bring to a boil, stirring/whisking constantly to ensure it doesn’t burn or go lumpy. If you feel it’s getting the better of you and could go lumpy, remove the pan from the heat and give it a really good quick whisk and then place back on the heat again. To check the cornflour has cooked out have a little taste; If the texture seems ‘powdery’ you need to cook it out a little longer.
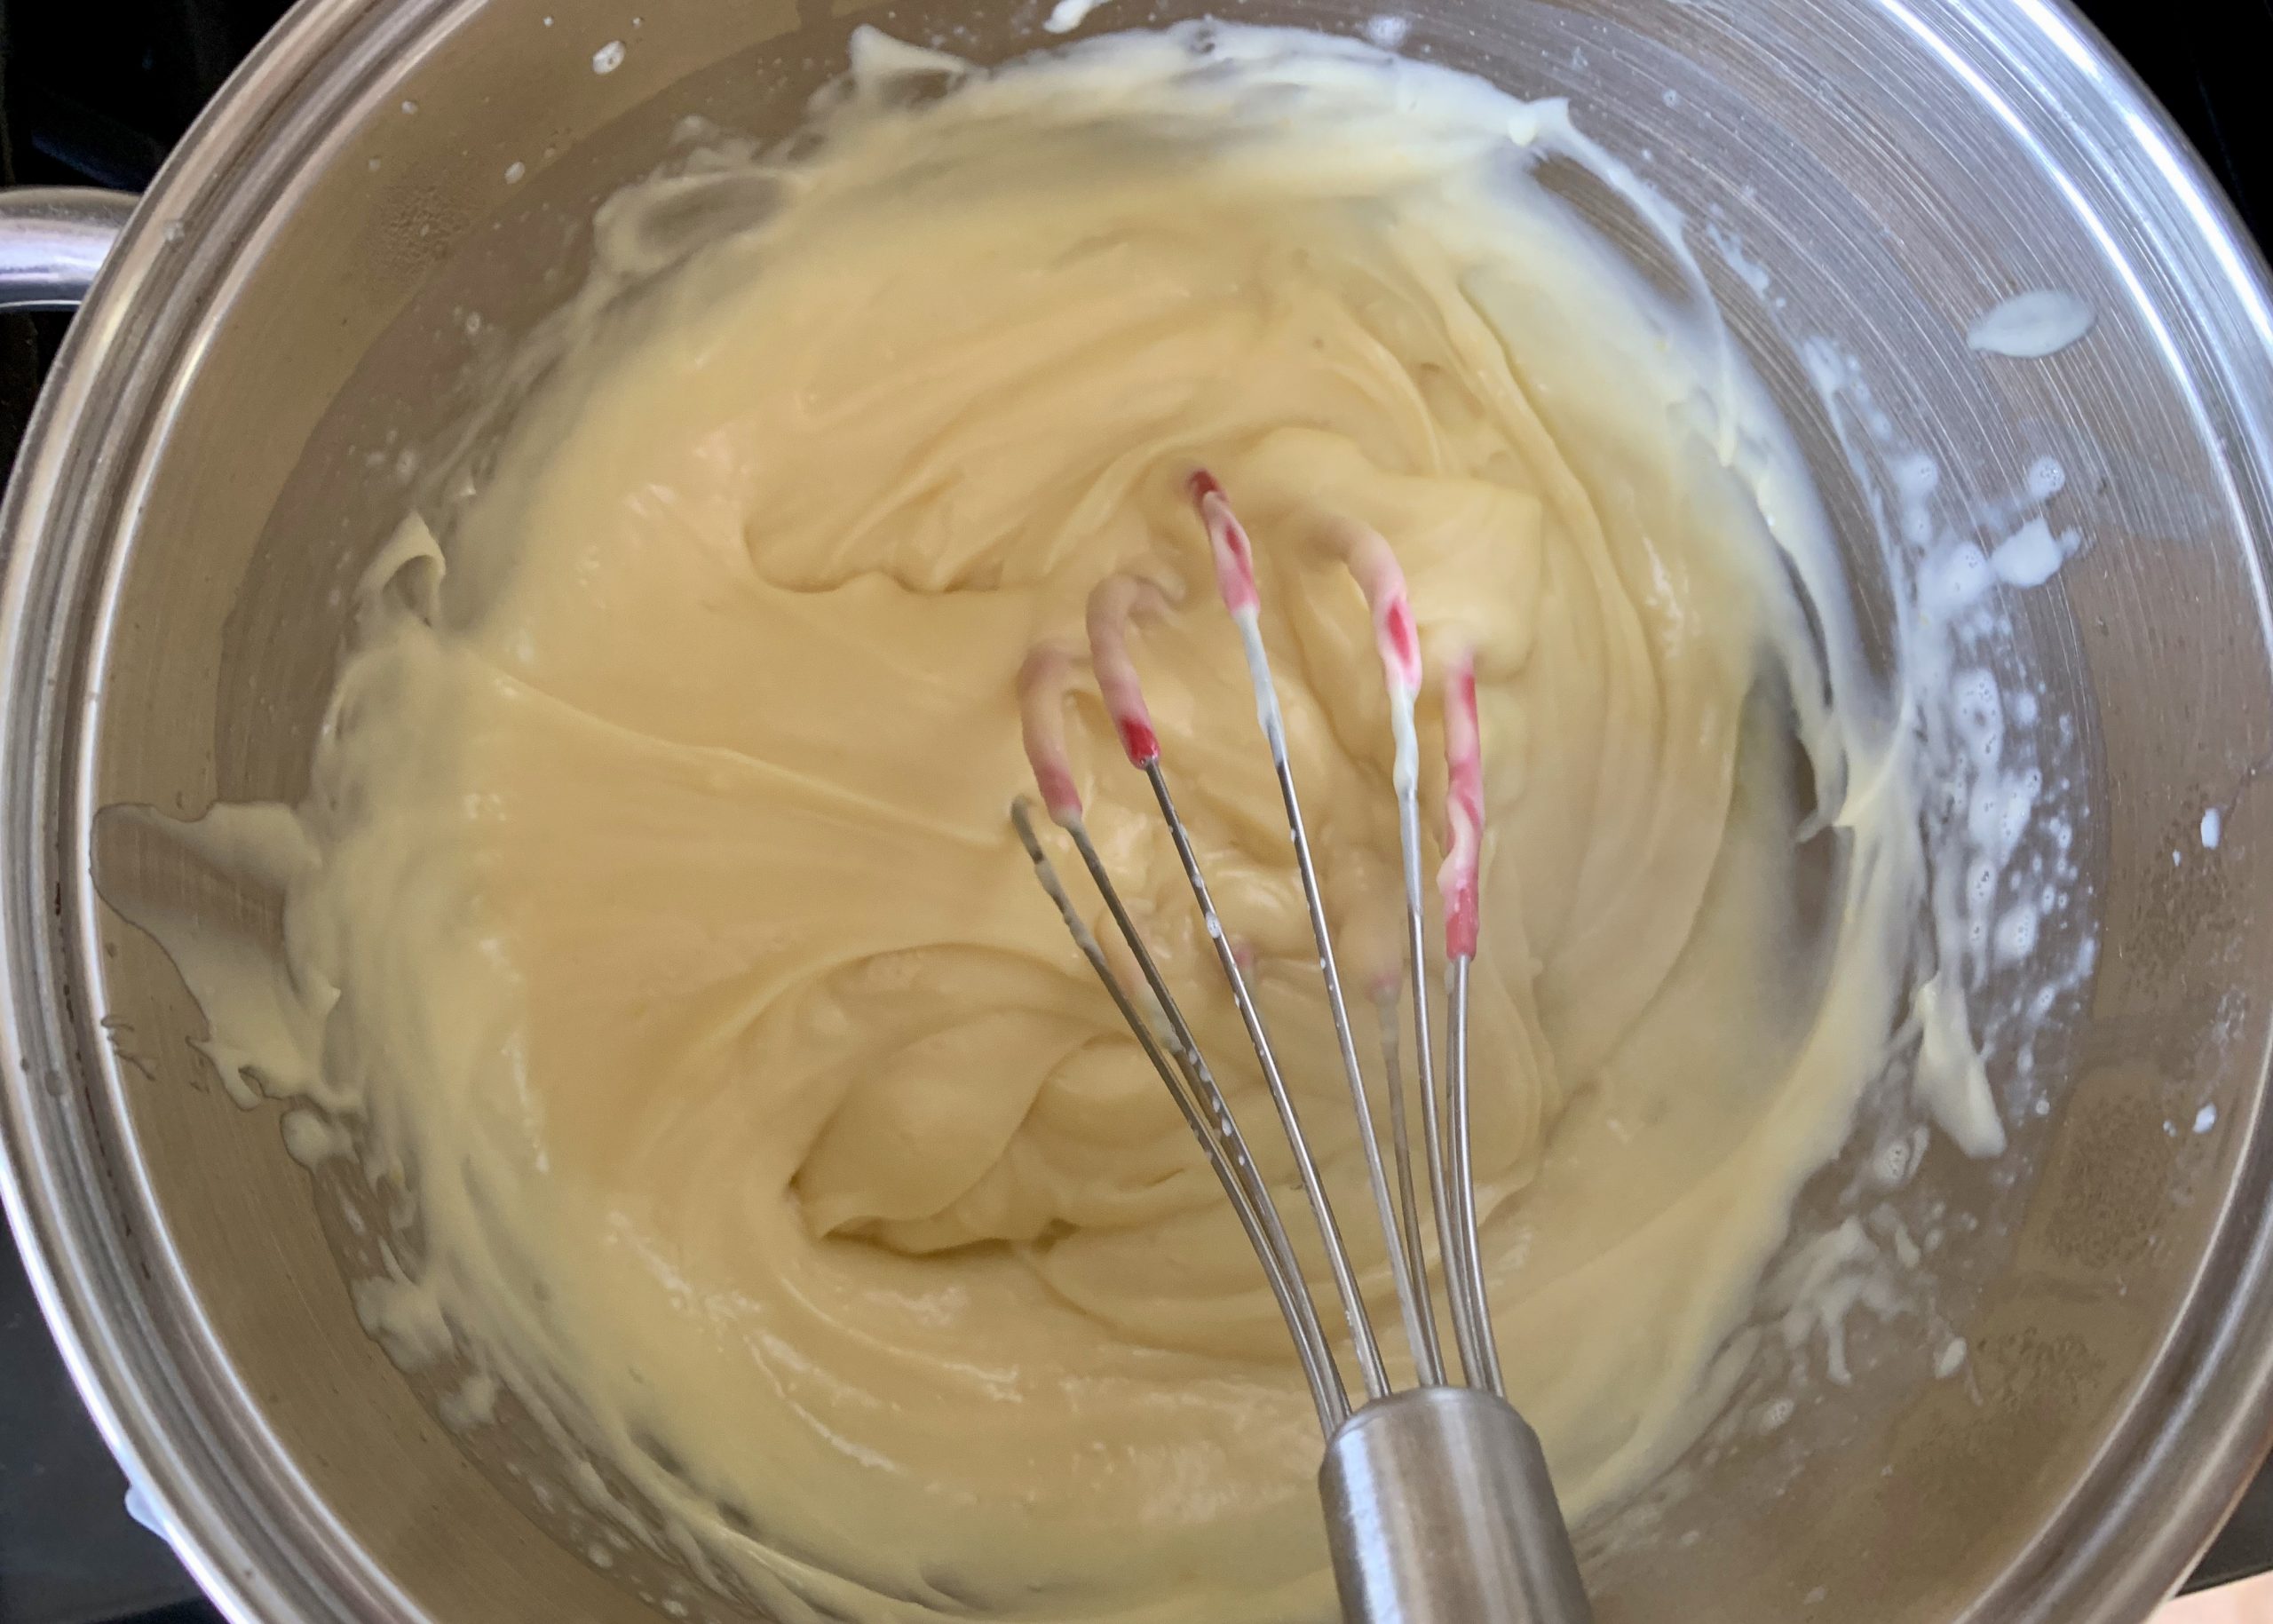
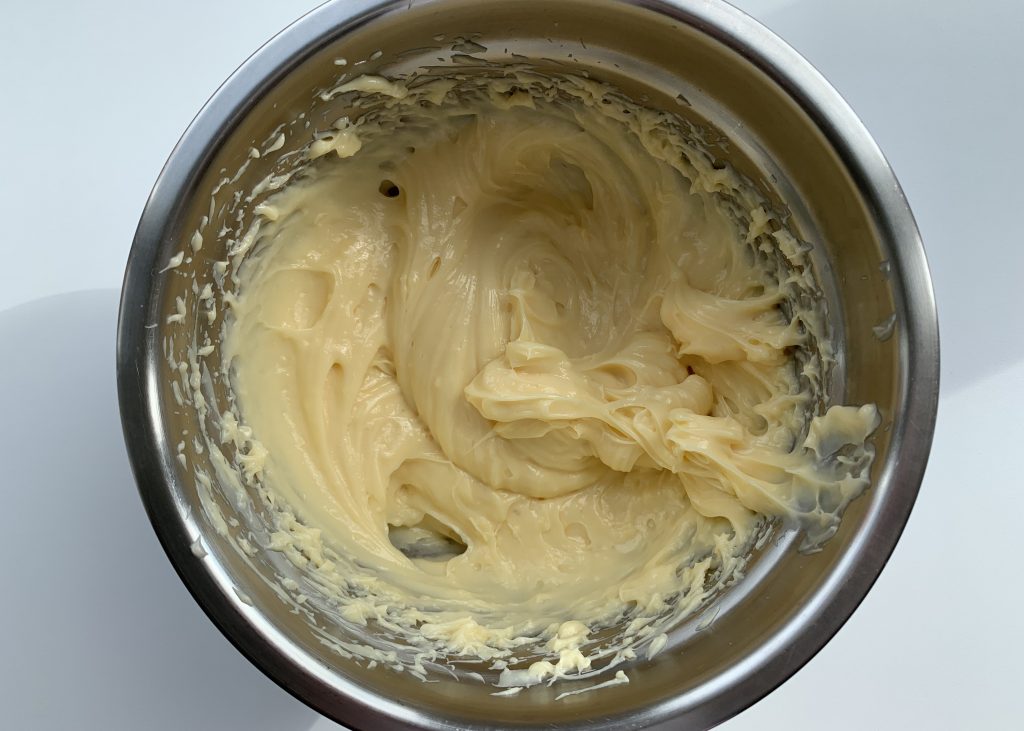
Once the pastry cream has come to a gently boil, is nice and thick and cooked out. transfer into a large clean bowl (one large enough to allow you to whisk the pastry cream later).
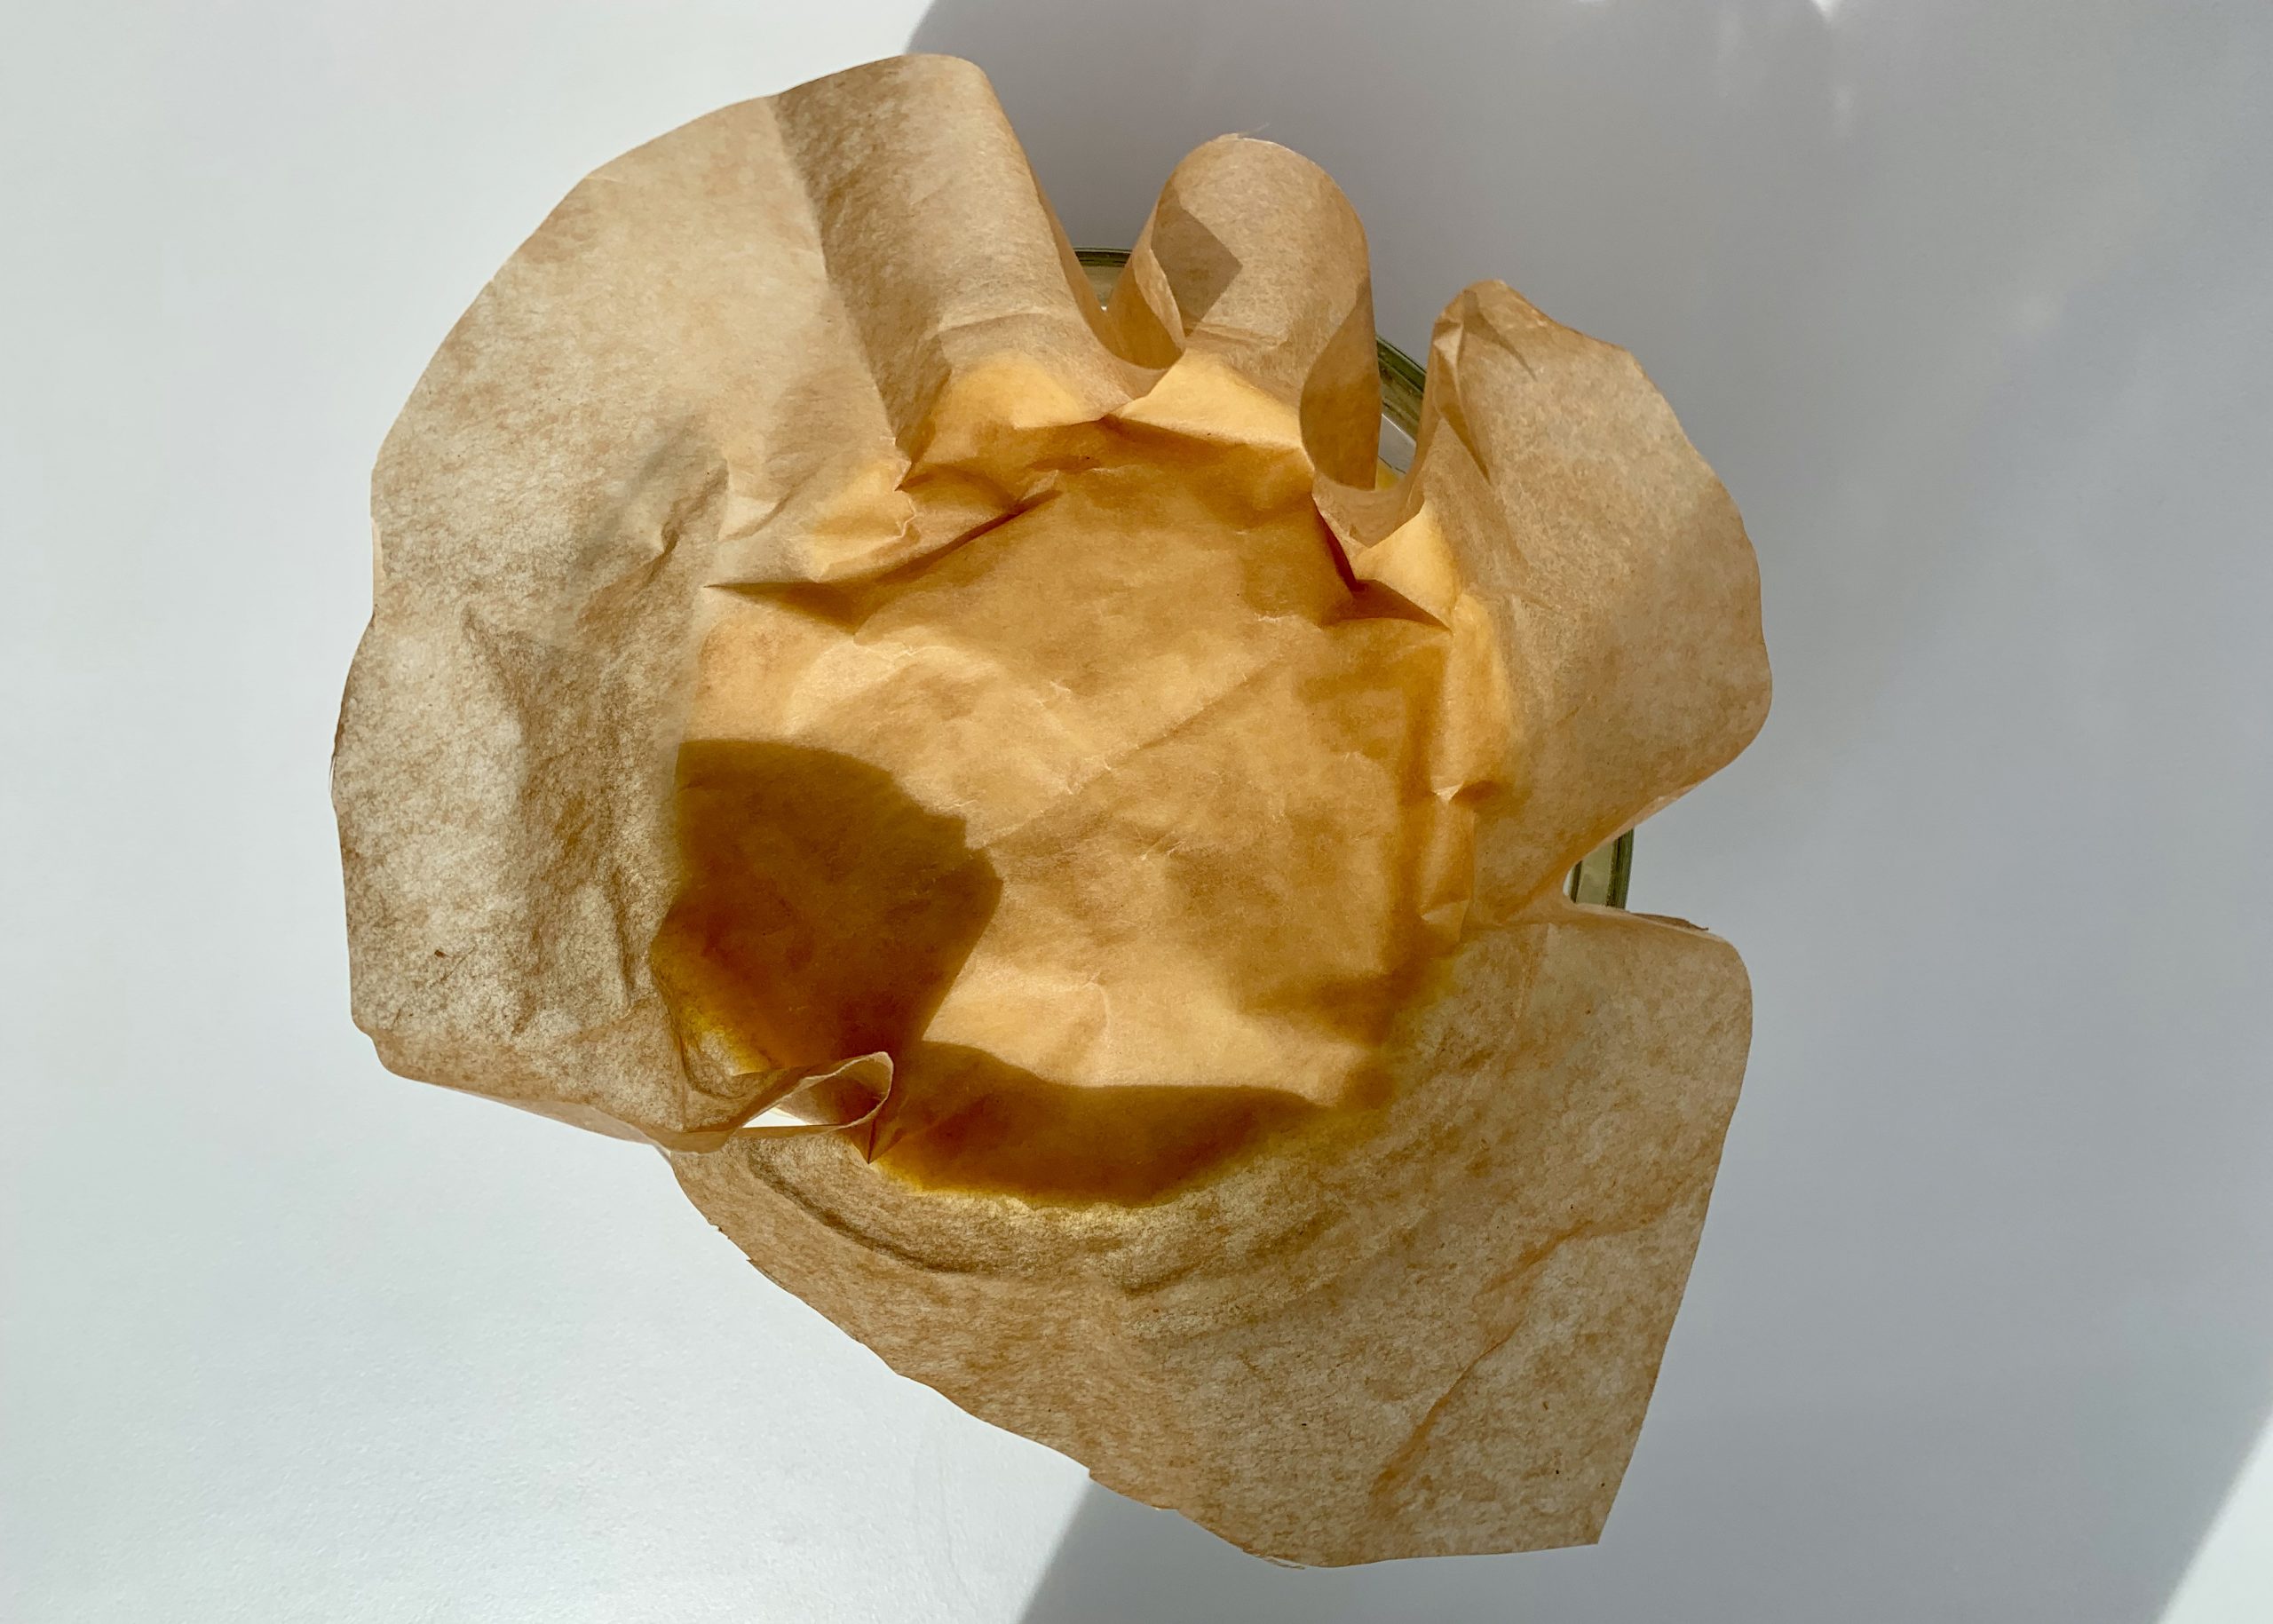
Place a disk of greaseproof directly onto the pastry cream (this will prevent a skin from forming). Leave to cool (about ½ hr) before popping it into the fridge to chill completely.
To make the choux pastry:
Preheat the oven to 200C/400F/Gas 6/180C Fan.
Line a large flat baking tray with a sheet of greaseproof paper.
Pour the water into a large heavy bottomed pan, add the butter (and pinch of salt if using unsalted butter). Heat slowly until the butter melts then bring to the boil.
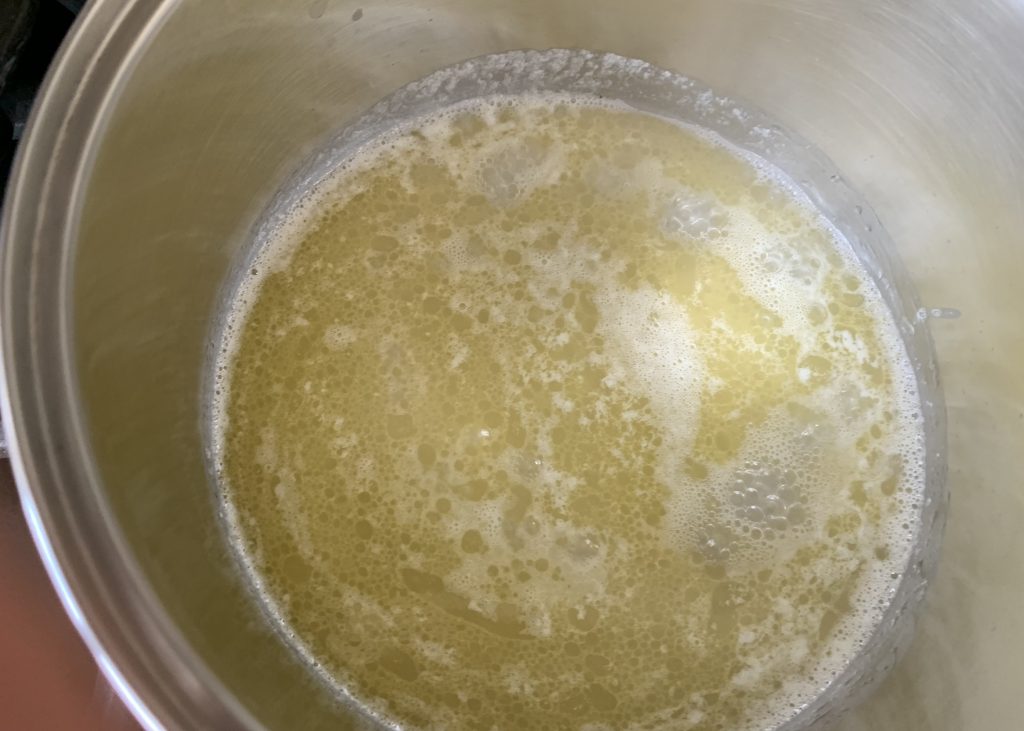
Take the pan of the heat and add the gluten free flour. Stir or whisk briskly until a ball of dough forms.
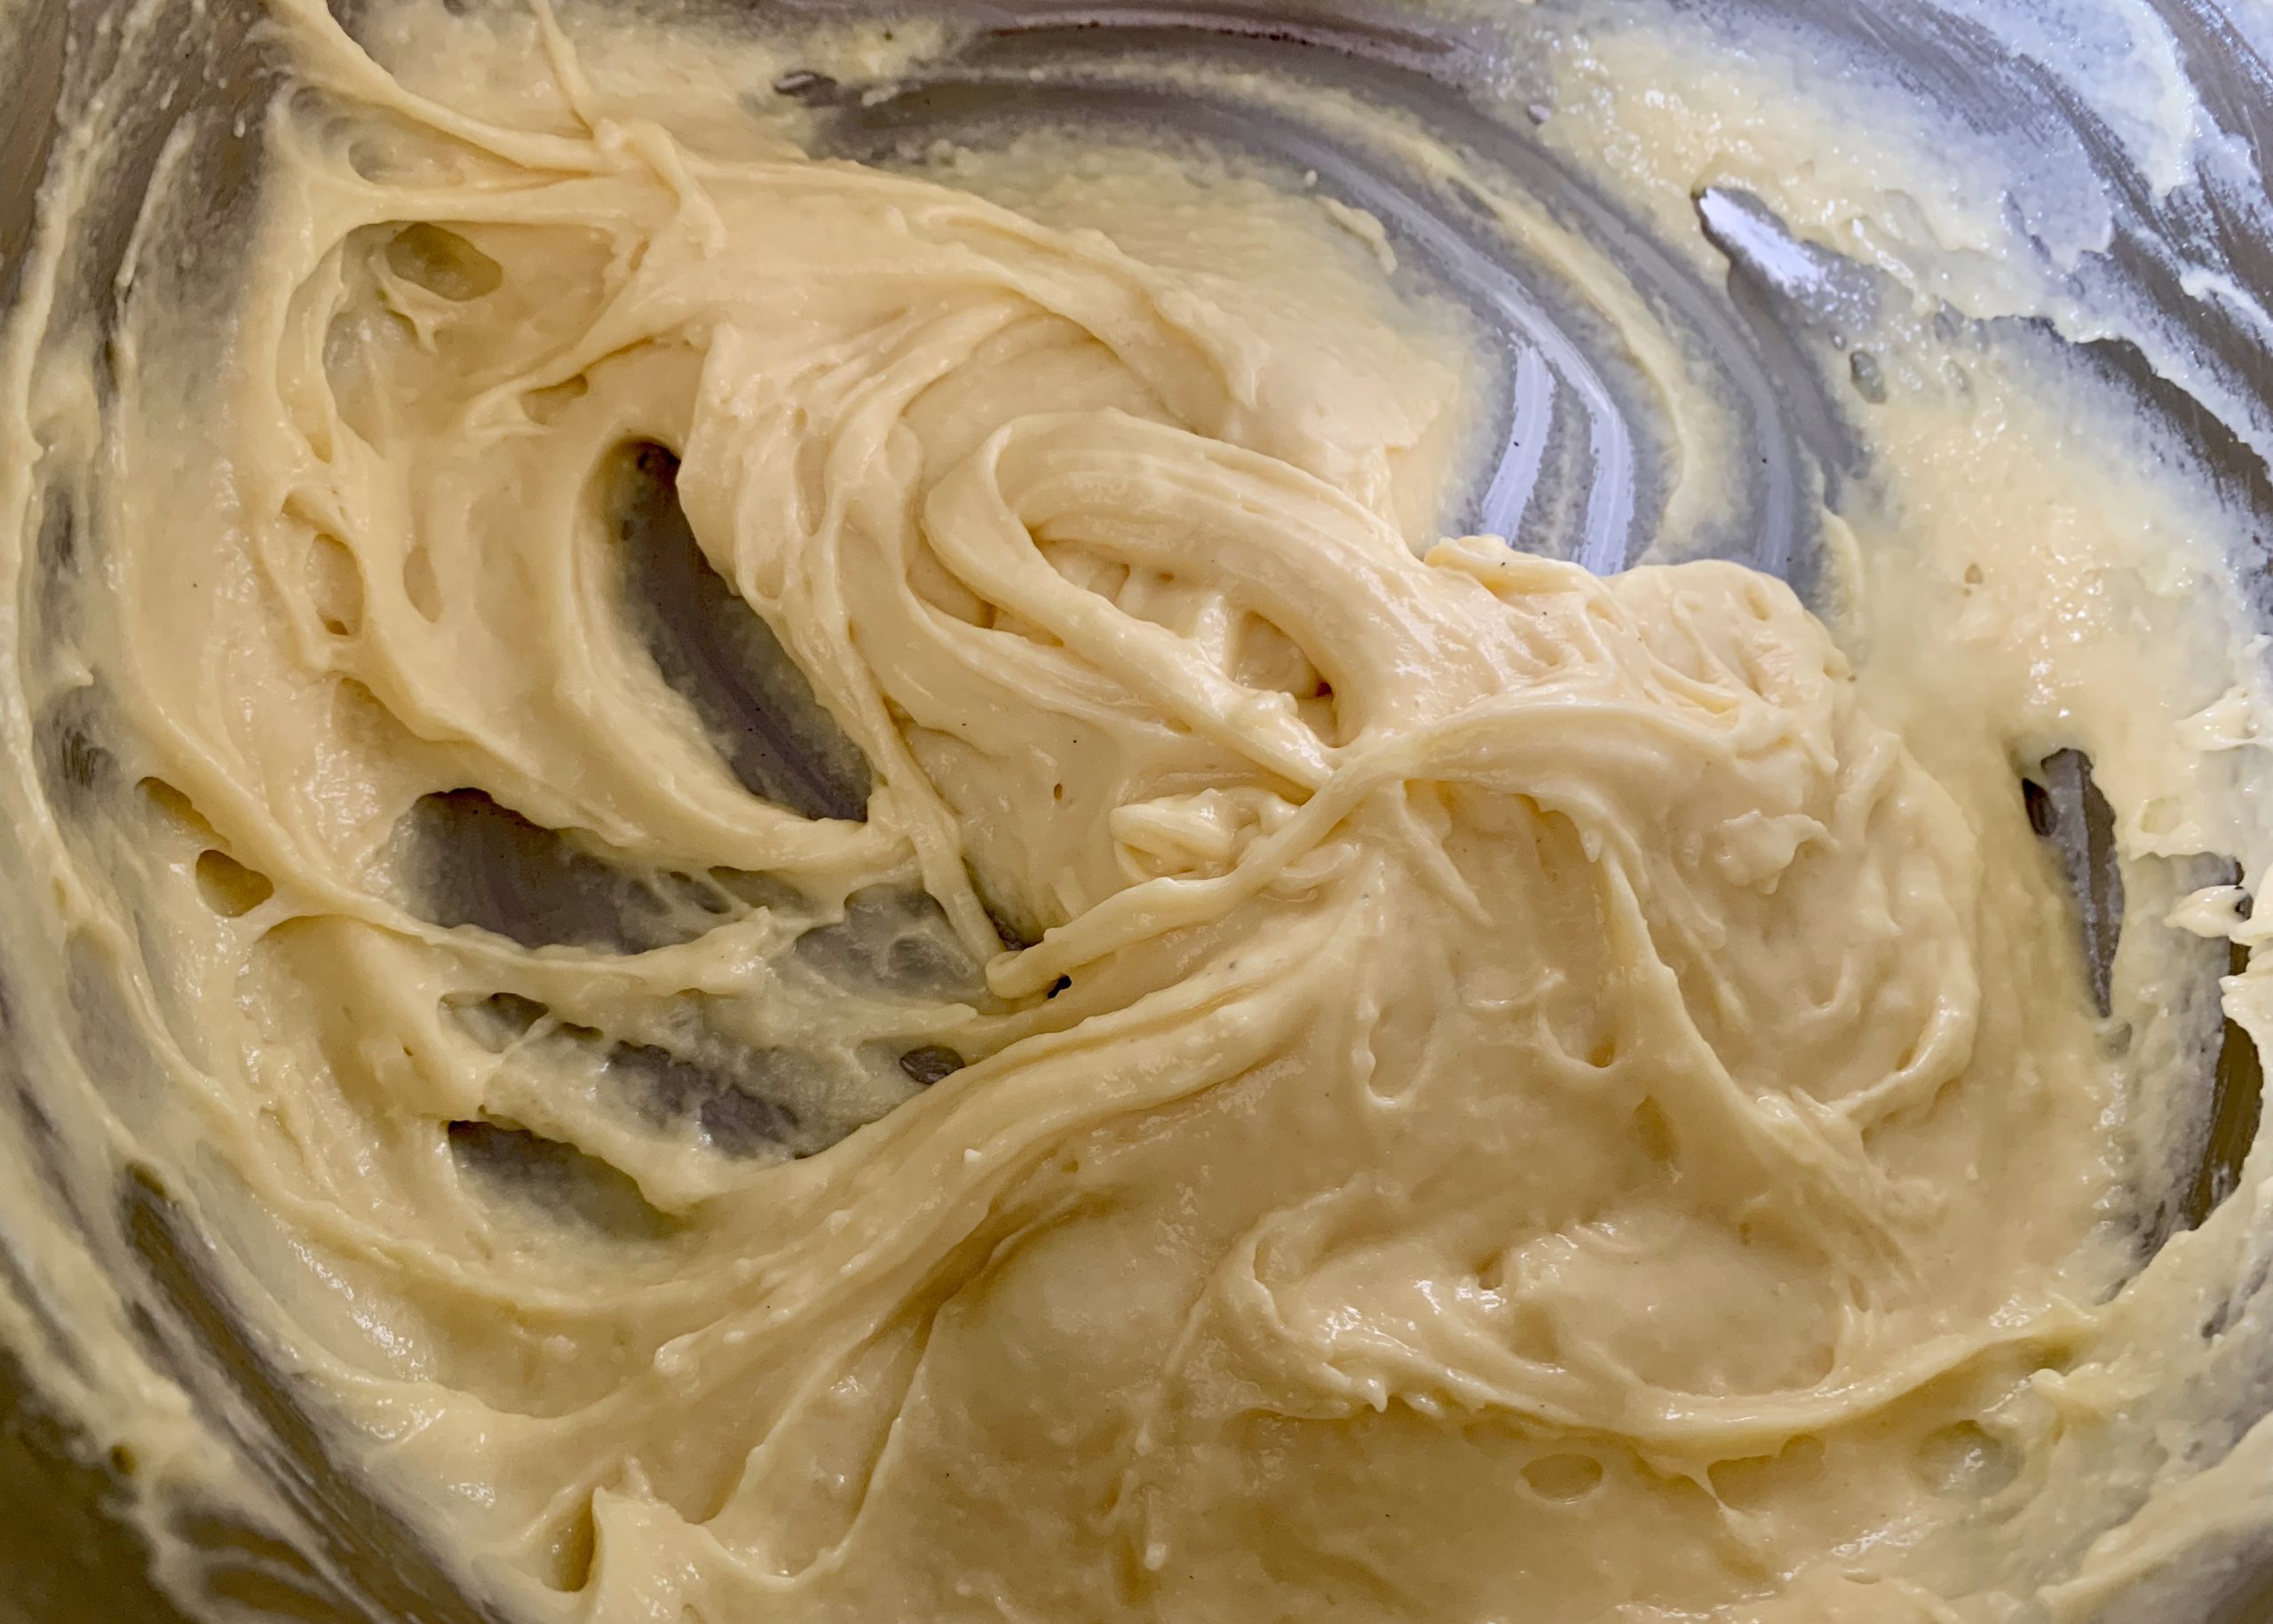
Leave to cool slightly (3-4 mins would be fine) before adding the beaten egg. Add the egg gradually and after each addition give the mixture a good whisk (I used a balloon whisk that I actually bent out of shape!). once all the egg has been added whisk the mixture until its smooth and glossy. It’s a bit tough on the old arms at this point, so I think next time I make choux pastry, I’ll get the electric whisk on the job.
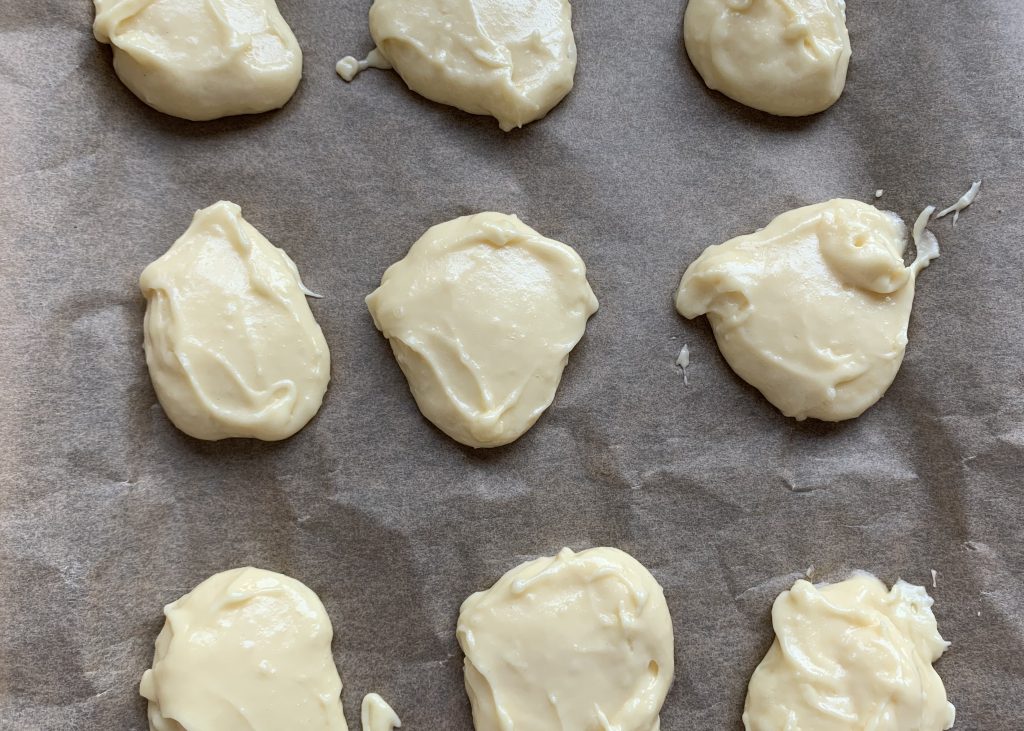
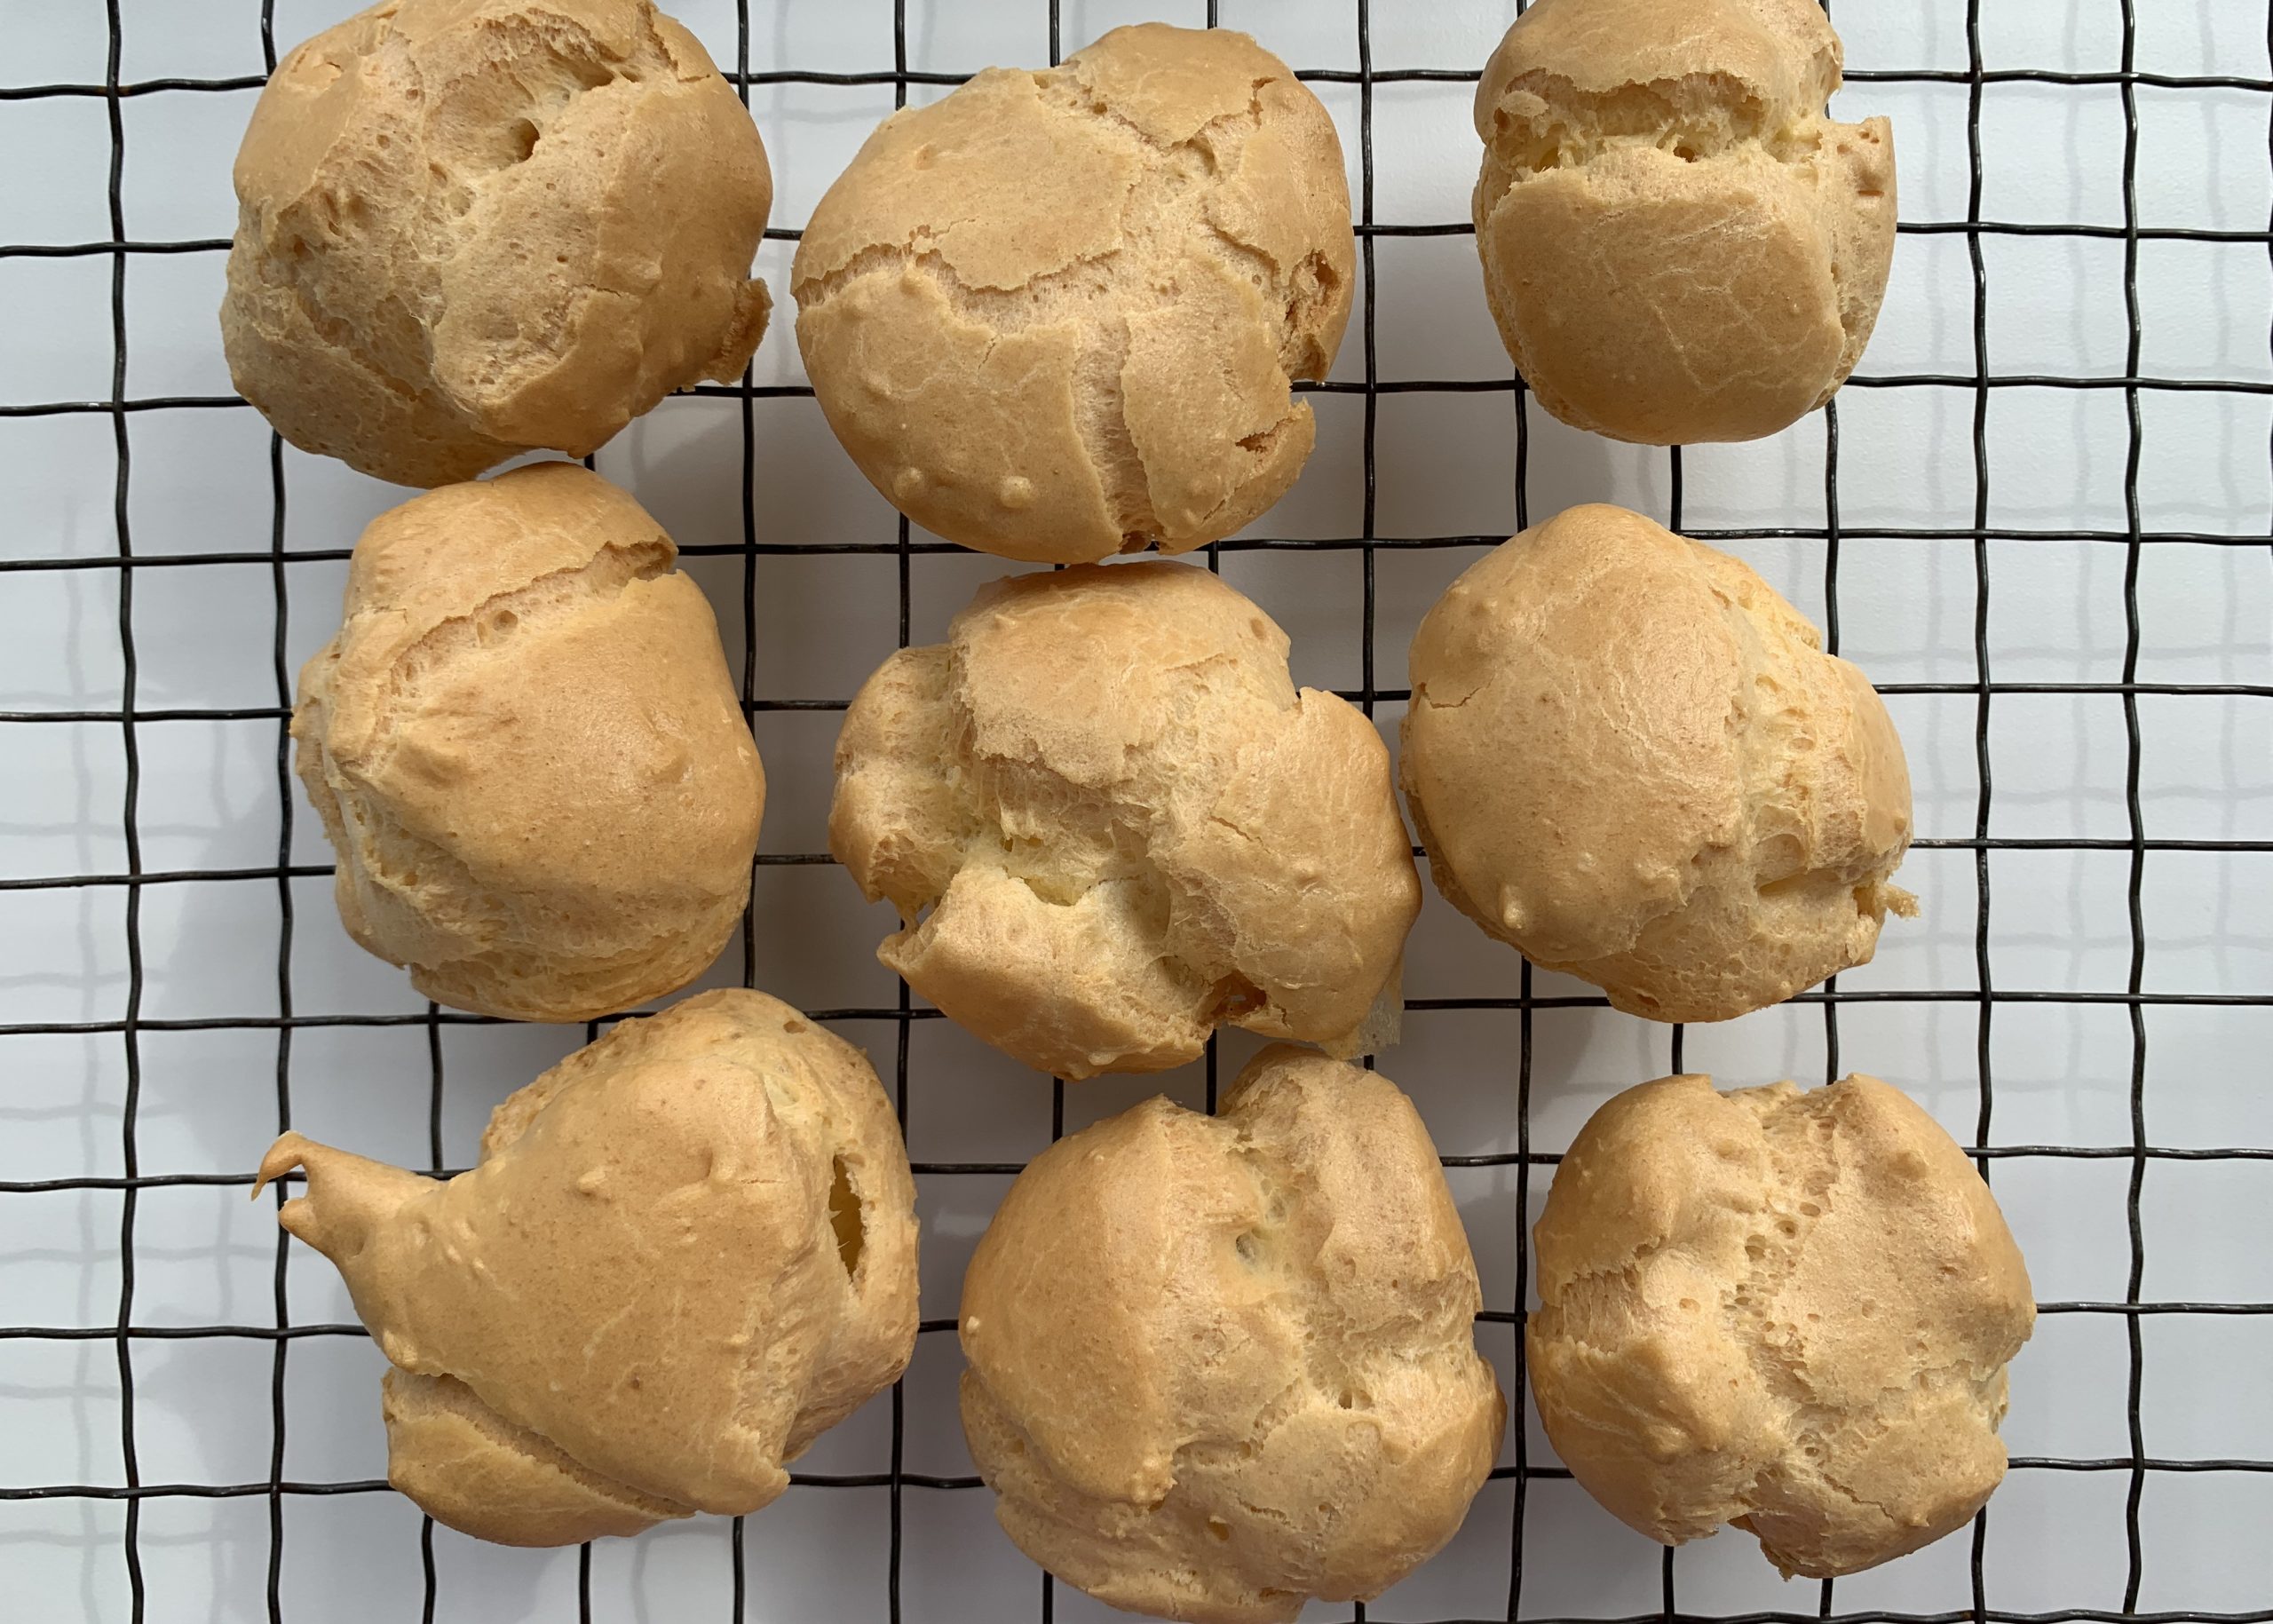
Using a couple of dessertspoons (I used spoons to portion, as I wanted to test the recipe with basic equipment on hand in every kitchen, but you could use a piping bag fitted with a plain nozzle instead) spoon out the mixture into small mounds onto the prepared tray.
Slide the tray into the oven and bake for 10 minutes. Then reduce the temperature to 180C/ 350F/Gas 4/160C Fan and bake for a further 20-25 minutes until the buns are golden brown and well puffed out. Remove the tray from the oven and using a knife make a small slit on the side of each choux bun and then pop the tray back into the oven for 5 minutes
Remove the tray from the oven and transfer the choux buns onto a cooling rack.
Peel the paper off the top of the pastry cream and remove any skin from the pastry cream. Whisk the pastry cream with an electric or hand whisk until smooth and creamy.
To fill the choux buns, you can either pipe the pastry cream in through the little slit or slice the buns in half and then either spoon or pipe the pastry cream onto the bottom half before popping the top back on.
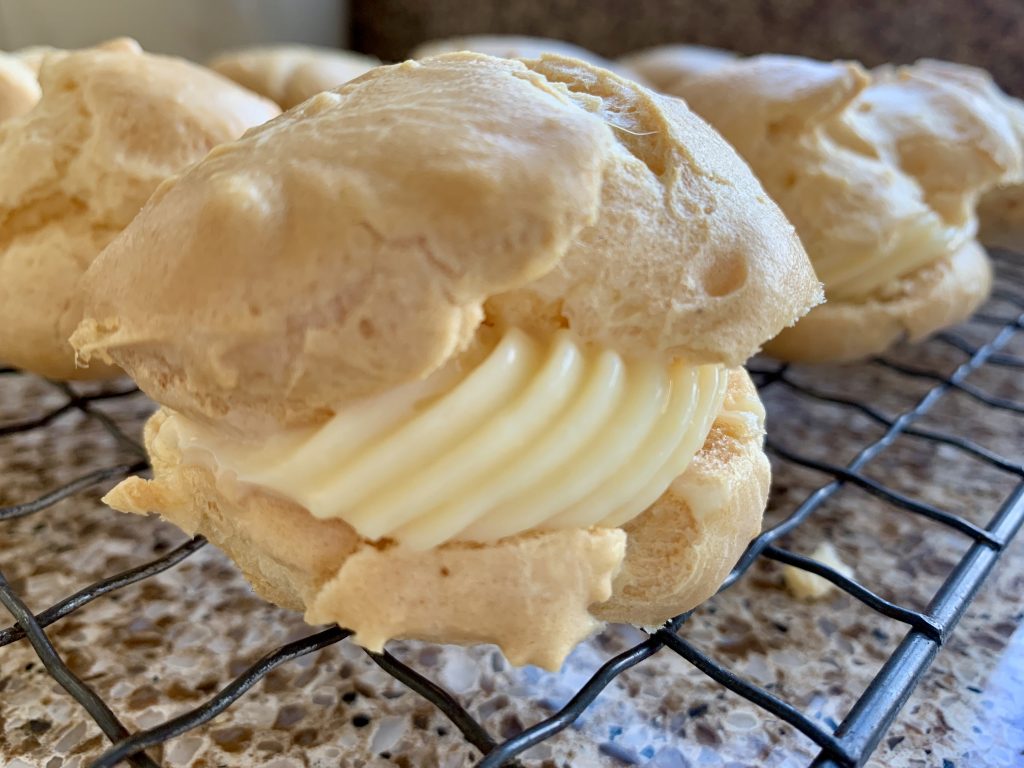
Dust over the choux buns with plenty of sifted icing sugar. Enjoy straight away or store in the fridge to keep chilled for later.
Recipe notes and suggestions:
The choux buns will be at their best on the day you make them. You can freeze baked (unfilled) choux buns: Just defrost them thoroughly and pop into a hot oven for about 5-10 minutes to crisp them up again.
To make life easier the pastry cream could be made in advance and stored in the fridge for 24hrs.
If you fancy making larger or smaller choux buns, adjust the cooking time accordingly.
Choux buns can of course be filled with fresh cream or *ice-cream instead of pastry cream and would be lovely topped with either a chocolate ganache, coffee or glace icing. Of course a delicious hot chocolate sauce would be amazing poured over a generously filled choux bun too.
For a savoury twist, the choux buns could be filled with a combination of cream cheese and smoked salmon.
Pavlovas are the perfect thing to make with leftover egg whites. I whipped up some individual ones which stored perfectly well in an airtight container for 4-5 days and topped with fruit and cream as and when we were ready to eat them. To make the pavalovas: I added 275g caster sugar to my whisked and ‘peak forming’ egg whites, whisked again. Then added 1 heaped teaspoon of cornflour and 1 teaspoon of cider vinegar (white wine vinegar would be fine) and whisked again. Then using a large tablespoon, I portioned the meringue out onto greaseproof lined trays. I baked the pavlovas for about 40 minutes in a preheated oven (150C/300F/Gas 2/130C Fan). After the baking time was up, I switched the oven off and left the pavlovas in there to go completely cold. In fact, as it was a cool night, I left them there until the following morning.
Thanks for checking out this recipe. I’m really keen to share good basic gluten free recipes, that you find easy to make and which bring joy to yours or somebody else’s gluten free life.
Please give me a shout if you have any questions.
For now,
Liz x
*Check this product out to ensure no gluten containing ingredients or ‘may contain’ or ‘not suitable’ warnings on the pack. If in doubt leave it out.
Gifted: Thanks so much to our milkman, Dean at Bell’s dairy. Who has kindly supported my blog, with some of his fabulous dairy products to use within this recipe.