It’s year ago today since my blog went live, so I thought it would be nice to pop together a special cake to mark the 1st Birthday of Coeliac by Design!
There are a quite a few things that have only become popular since I have diagnosed with coeliac disease. One of them is red velvet cake – something I have neither eaten nor made, so thought it would be nice to pop one together!
This gluten free red velvet cake recipe was adapted from a ‘standard’ recipe for red velvet cake by RecipeTin Eats. When picking out recipes to use, I can generally tell if they will work out by the ingredients list. And this particular one looked spot on and the cake turned out great!
Now, I hold my hands up, if there’s is a shortcut to a recipe, I really do like to take it. However, I will only skip things if there’s no compromise to the end result. When I was checking out the method for this red velvet cake, the thought crossed my mind if it would work out if I used the all in one method? I gave it a go and great news it worked!
Ingredients (Serves 10 -12)
For the cake
400g gluten free plain flour or mix (I used Doves Farm free from on this occasion)
10g *cocoa powder
5g *bicarbonate of soda
330g caster sugar (sounds a lot but go with it!)
115g Lurpak full fat spreadable butter
2 large eggs – room temperature works well in baking
250ml vegetable oil (silly fact – did you know a lot of vegetable oils are made from rapeseed – check the ingredients on the bottle)
1 tsp white wine vinegar
2 tsp *vanilla extract
250ml buttermilk
1 tube of Dr Oetker *red food colour gel (gel is recommended as it’s a more vibrant in colour – however it’s your choice if you wish to use natural red food colouring instead)
For the cream cheese frosting
250g Philadelphia (original) cream cheese
115g softened unsalted butter
1½ tsp *vanilla extract
450g icing sugar, sifted
To finish
*Cocoa powder for decoration – optional
Method
Preheat the oven to 180C/350F/Gas 4/160C Fan.
If you have them, pop some paper cake liners into 2 x 20cm sandwich tins. If you don’t have the liners (I pick mine up from Home Bargains) grease and line the tins instead.
Sift the gluten free flour/mix, cocoa powder and bicarb into a large mixing bowl. Add the caster sugar and mix well until the ingredients are blended.
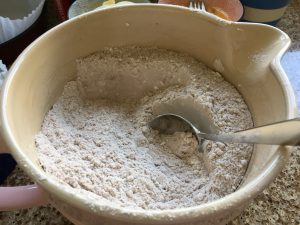
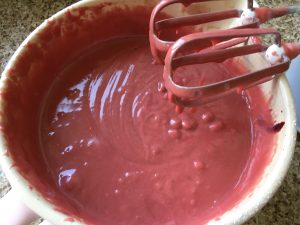
Add the remaining ingredients into the bowl and give it a quick stir, then at this point you can either pop the bowl onto your mixer or if like me you don’t have one, get your electric hand mixer in there and whisk well until all the ingredients are incorporated and you have a nice smooth batter.
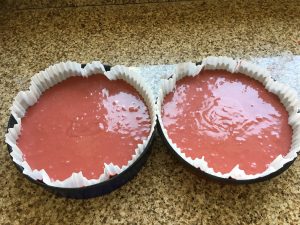
To ensure you get an even bake, it’s best to distribute the batter evenly between the 2 tins. You can either do this by using a ladle and count out how many you put into each tin or do as I did and pop the tins onto the scales and put the same weight of batter in each tin.
Pop them in the oven and bake for 40 minutes before you check in on them. To see if they are done, gently press the top of the cake. If it’s firm and bounces back that’s great, but if it’s still a bit wobbly bake for a few minutes longer.
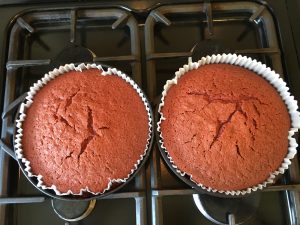
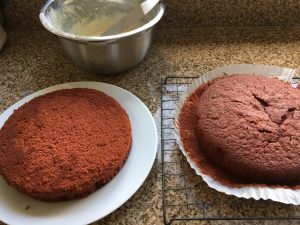
Once baked remove the cakes from the oven and allow to cool for about 15 minutes before removing from the tins and allowing to cool on a cooling rack.
To make the cream cheese frosting:
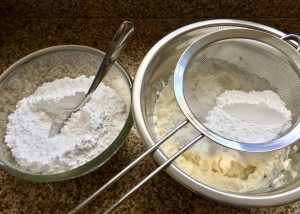
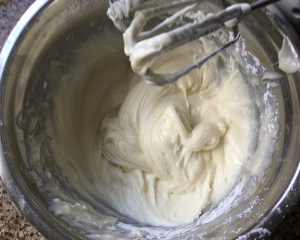
Pop the cream cheese, softened butter and vanilla extract in a large bowl and beat together well. Gradually add the sifted icing sugar in stages. Mixing well after each addition. Once all the icing sugar has been added it’s time to get the electric hand whisk out again to whip a little air in there and make the frosting velvety smooth.
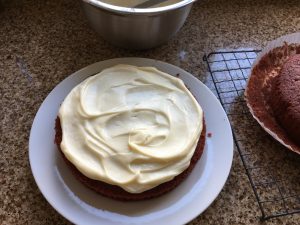
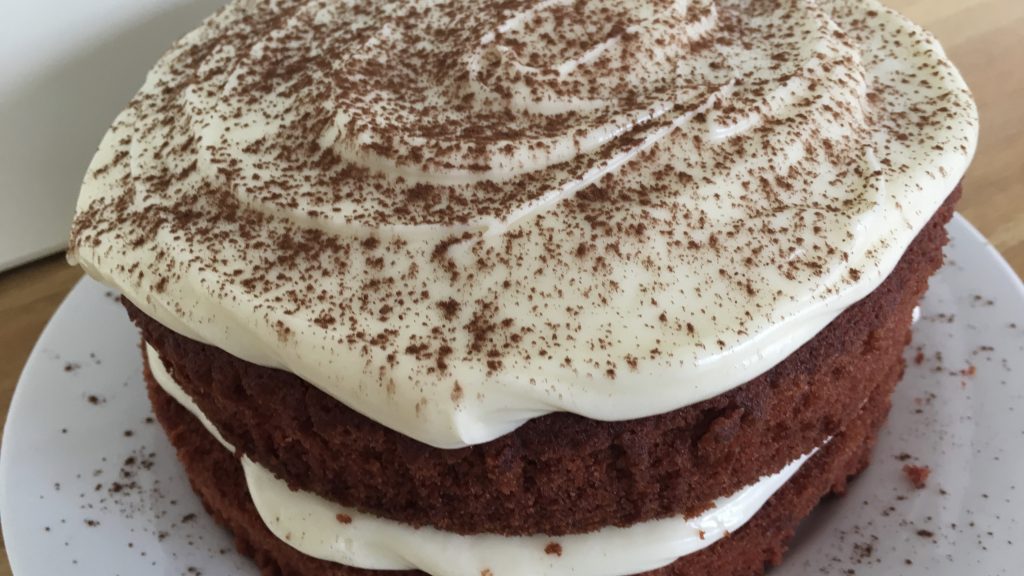
Once the cake is cold you can assemble and decorate it with the frosting. With a pallet knife spread a generous amount of the cream cheese frosting onto one of the cakes and then pop the other cake on top. Smooth the frosting over the top of the cake. You can please yourself whether you choose to have frosting on just the top or all over the cake. I have done both ways for you to have a look at, to see which you prefer. Frosting the whole cake will prevent it from drying out.
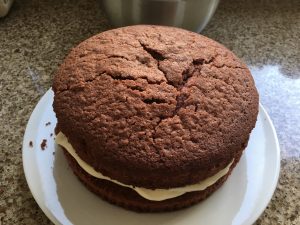
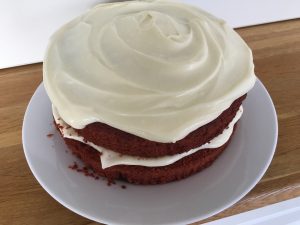
I wasn’t too sure what to decorate the top of the cake with, but I eventually opted for sifted cocoa powder. You may like to add something else that is gluten free or simply leave it plain.
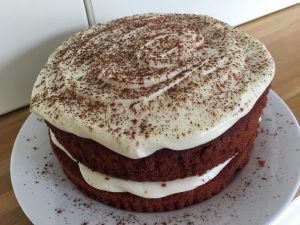
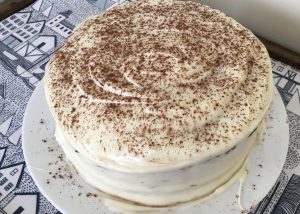
The cake will keep in a cool place for up to 8 hours, after that, because of the cream cheese frosting, it needs to be popped in the fridge and eaten within 3 days. It can be frozen too!
This yummy gluten free red velvet cake is extremmley soft, is best eaten with a spoon and ejoyed with a hot cuppa!
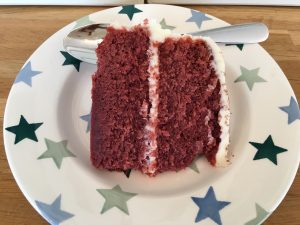
As always for any recipes I share with you, I let you know what ingredients I have used (I’m sure you’ll have gathered by now, that I’m rather crazy about Lurpak full-fat spreadable butter) as I know it’s worked for me. But it’s your recipe to make your own, and if you feel like giving something else a go, just give it a whirl. If you ever want to run anything by me before doing this, you know I will always be happy to help.
More gluten free recipes to check out here if you fancy having a peep.
Liz x
*Check this product out to ensure no gluten containing ingredients or ‘may contain’ or ‘not suitable’ warnings on the pack. If in doubt leave it out.

Baked this cake for my birthday and it was an absolute hit! So moist and tasty. Thank you for doing what you do
Aww that’s amazing….I’m delighted it was a success for you!!! Hope you had a great Birthday. Many Happy Returns! Liz x
Wow such a delicious cake, never tried this recipe. I have bookmarked this red velvet cake recipe, will try it soon.
Aww that’s fabulous! Hope you love it!✨