
Updated 7th February 2025
I’m here again with another delicious childhood recipe to share with you. These chocolate picnic slices are as much a joy to make as they are to eat, AND, they’re naturally gluten free!
The picnic slice recipe comes from a delightful ‘dog-eared’ booklet that is well over 60 years old. The booklet is made up of recipes that were contributed by lots of different people, from a church my parents and grandparents used to attend. Within the booklet there’s also a lovely Yum Yum cake recipe which was my grandma’s contribution to this treasured publication.
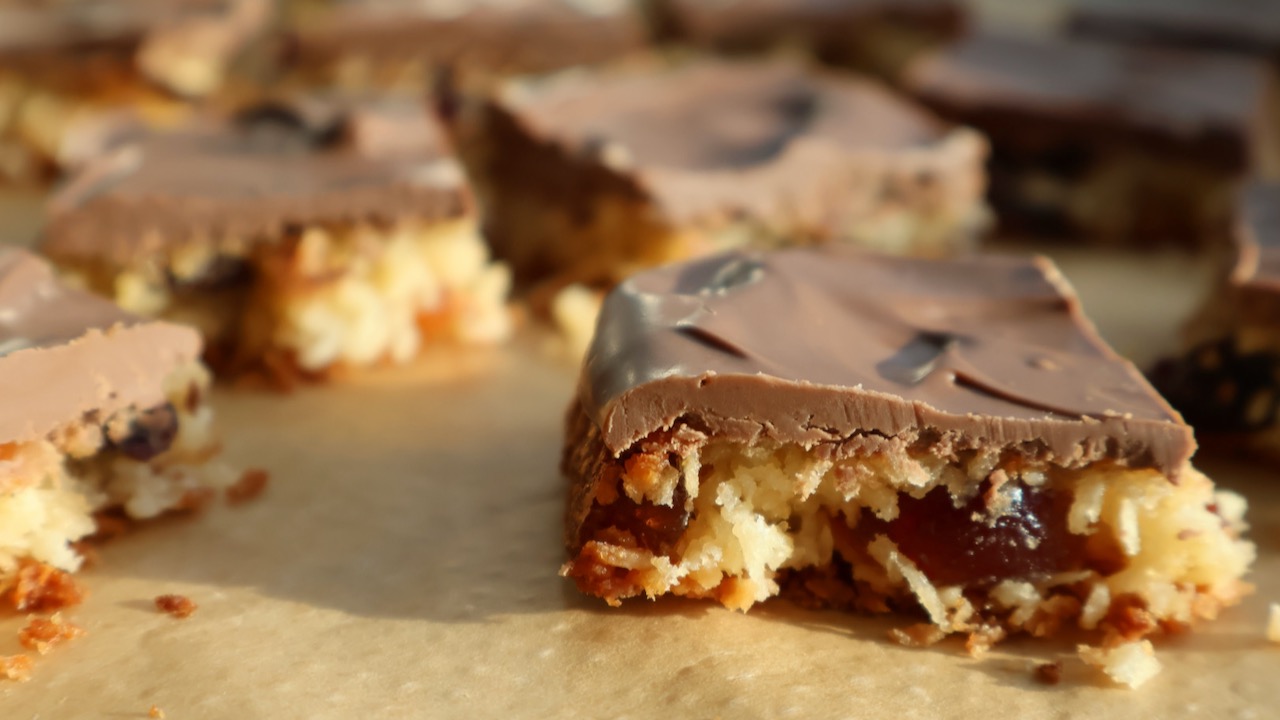
My modern-day picnic slices are a delicious combination of coconut, sultanas and cherries, baked and then topped off with a very generous helping of melted smooth milk chocolate, which when set, holds this yummy traybake together in the MOST perfect way!
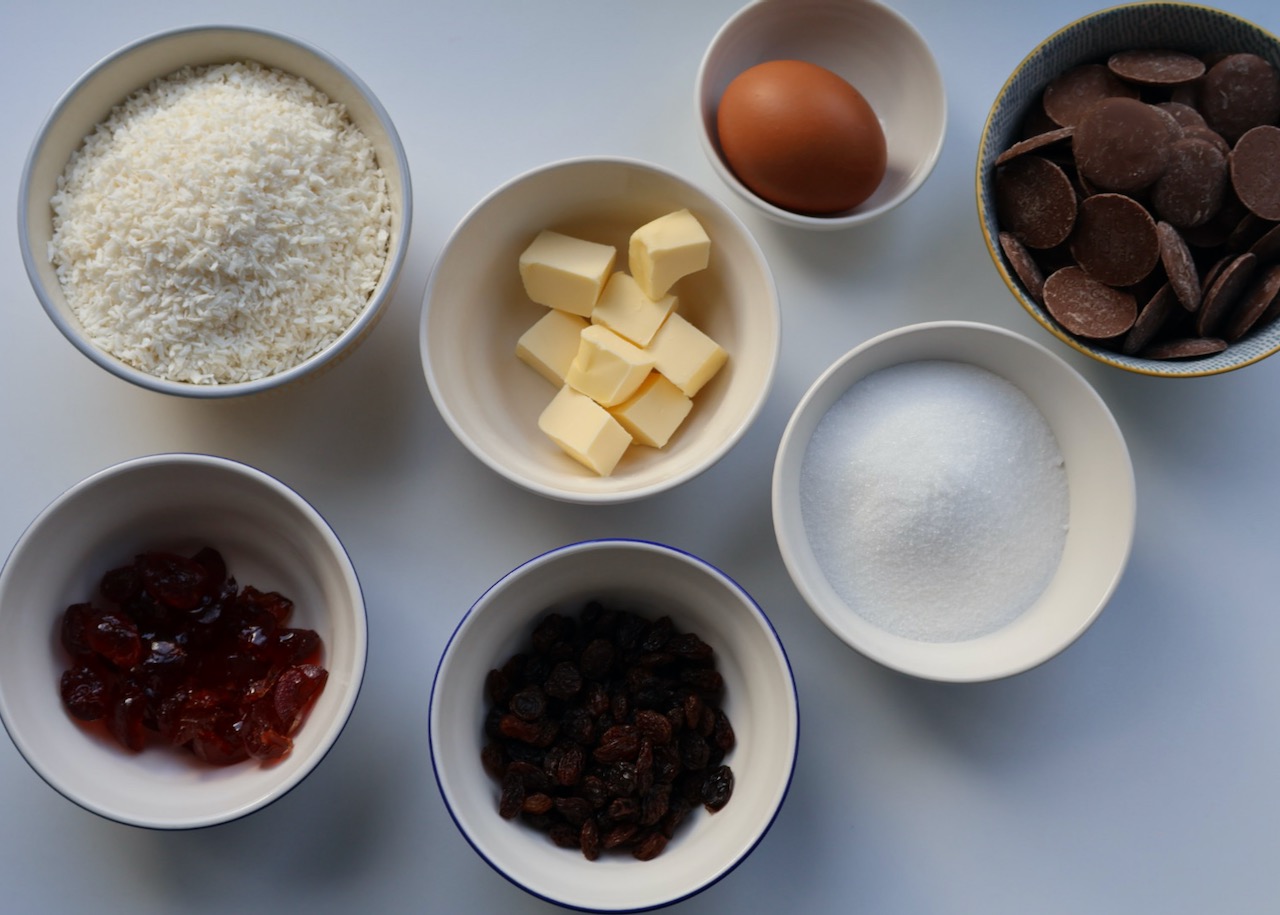
Ingredients (approx 12 -16 portions)
50g (2oz) unsalted butter, softened
110g (4oz) caster sugar
1 large egg
110g (4oz) *desiccated coconut
50g (2oz) *sultanas
50g (2oz) *glace cherries, roughly chopped
200g gluten free chocolate of your choice, broken into pieces if necessary (Cadbury’s chocolate buttons for me!)
Method
Preheat the oven to 170C/325F/Gas 3/Fan 150C.
Lightly butter and line a 7 inch (18cm) square baking tin. Lightly butter again over the paper, this will prevent the bake sticking when you peel the paper off.
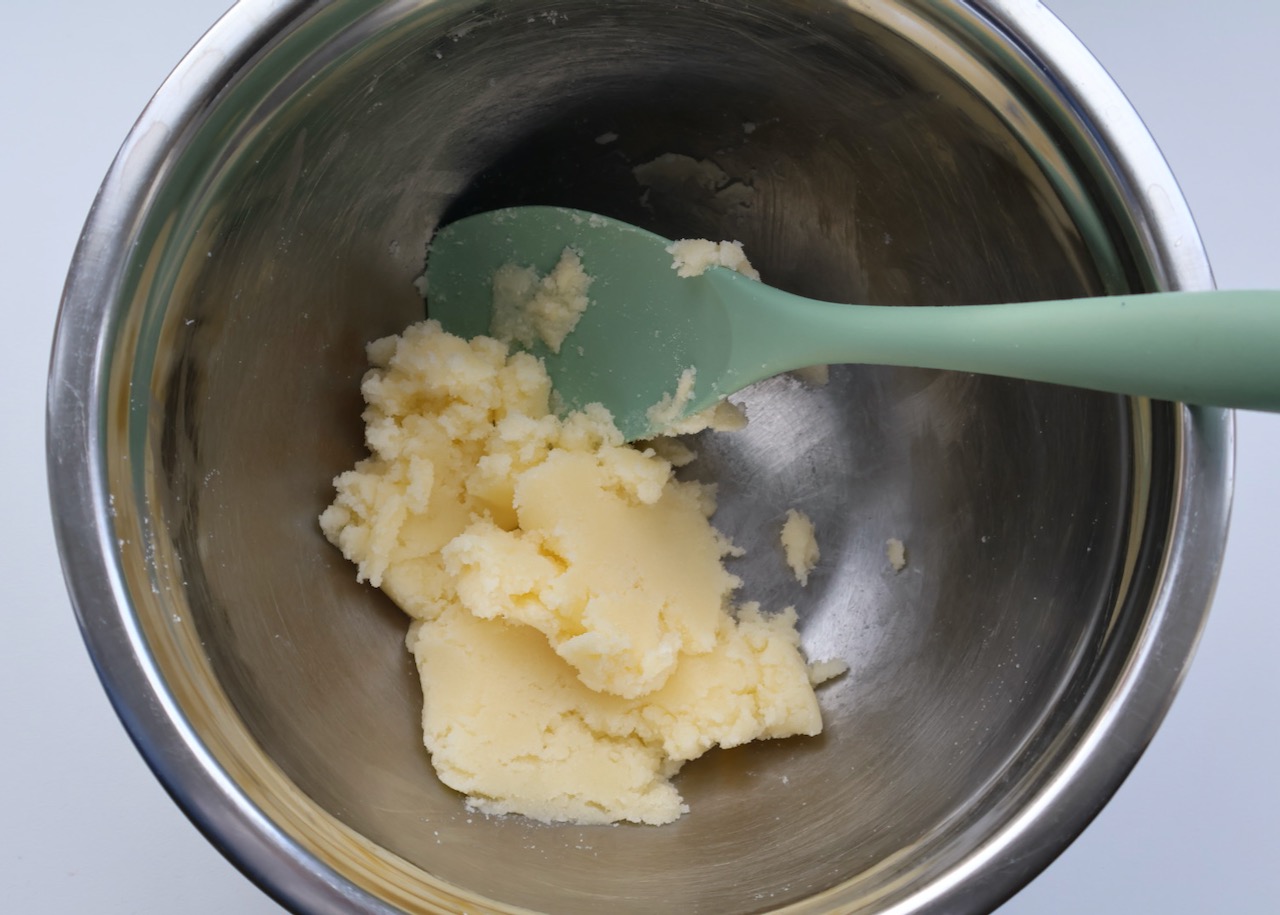
In a large bowl cream together the butter and sugar.
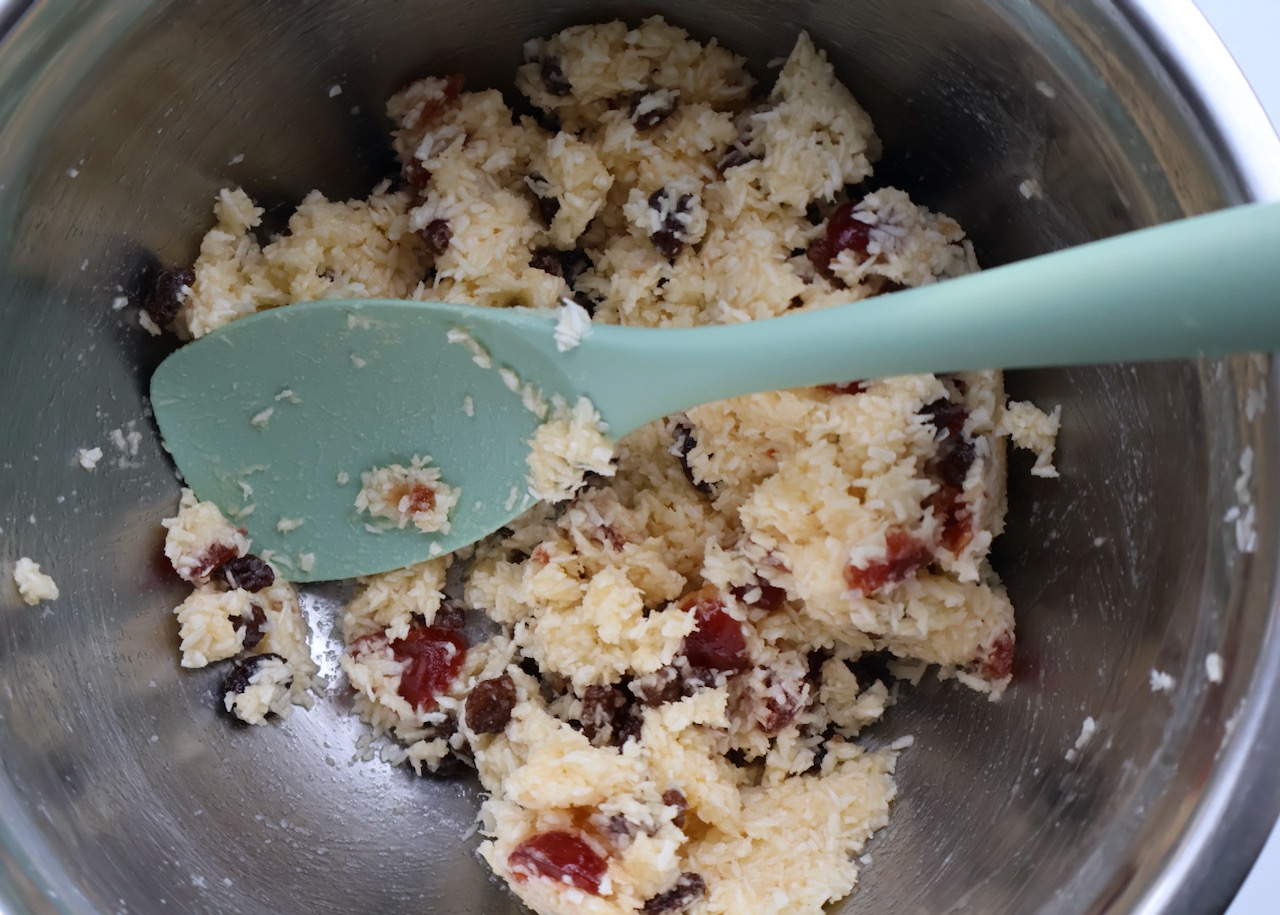
Add all the other ingredients (except for the chocolate) and mix well.
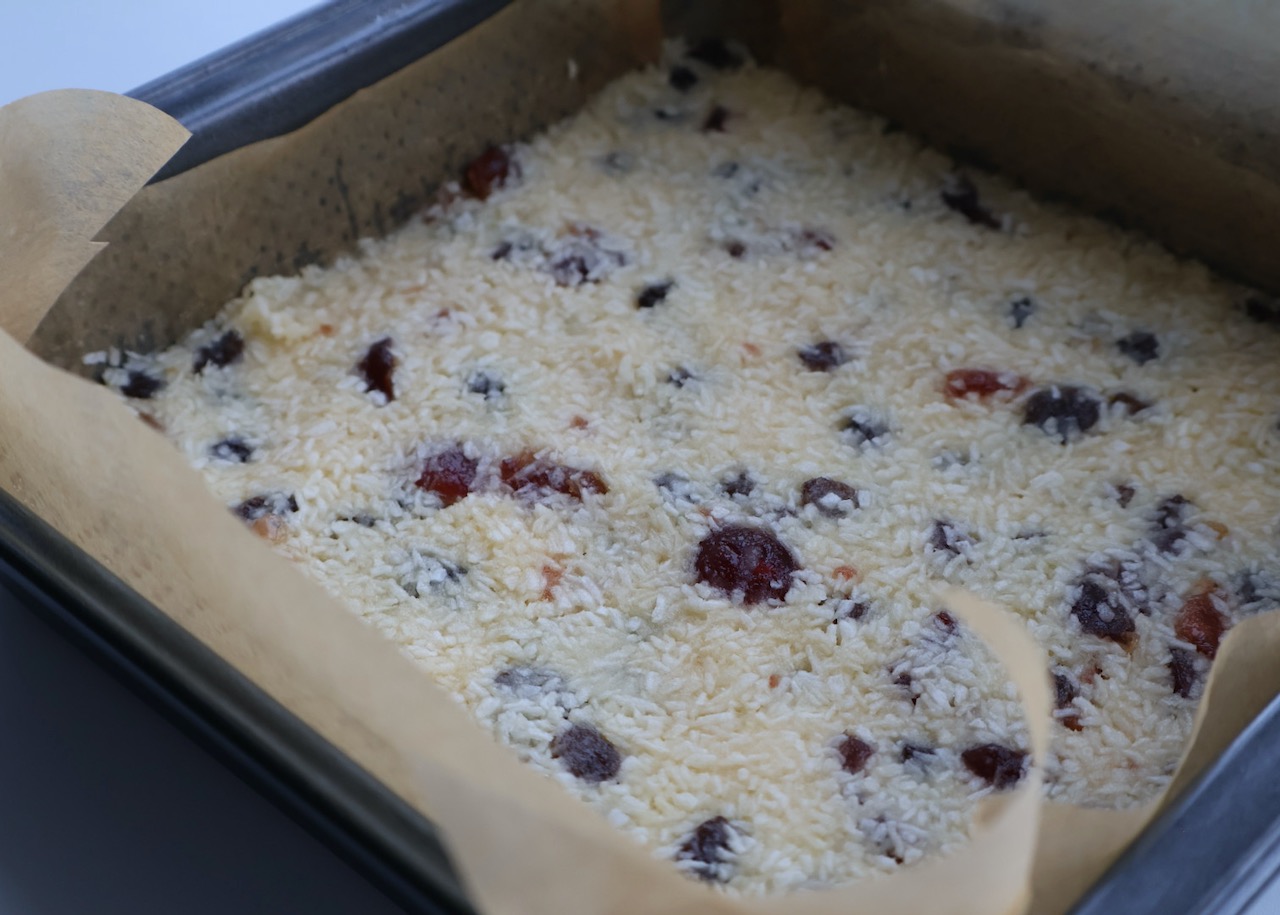
Tip the mixture into the prepared baking tin. Spread out evenly and press down until nice and smooth.
Pop into the oven and bake for about 20-25 minutes until golden brown. The beauty about this bake, is you can’t spoil it by opening the door too soon. So feel free to have a little peep towards the end of baking, to ensure all is well.
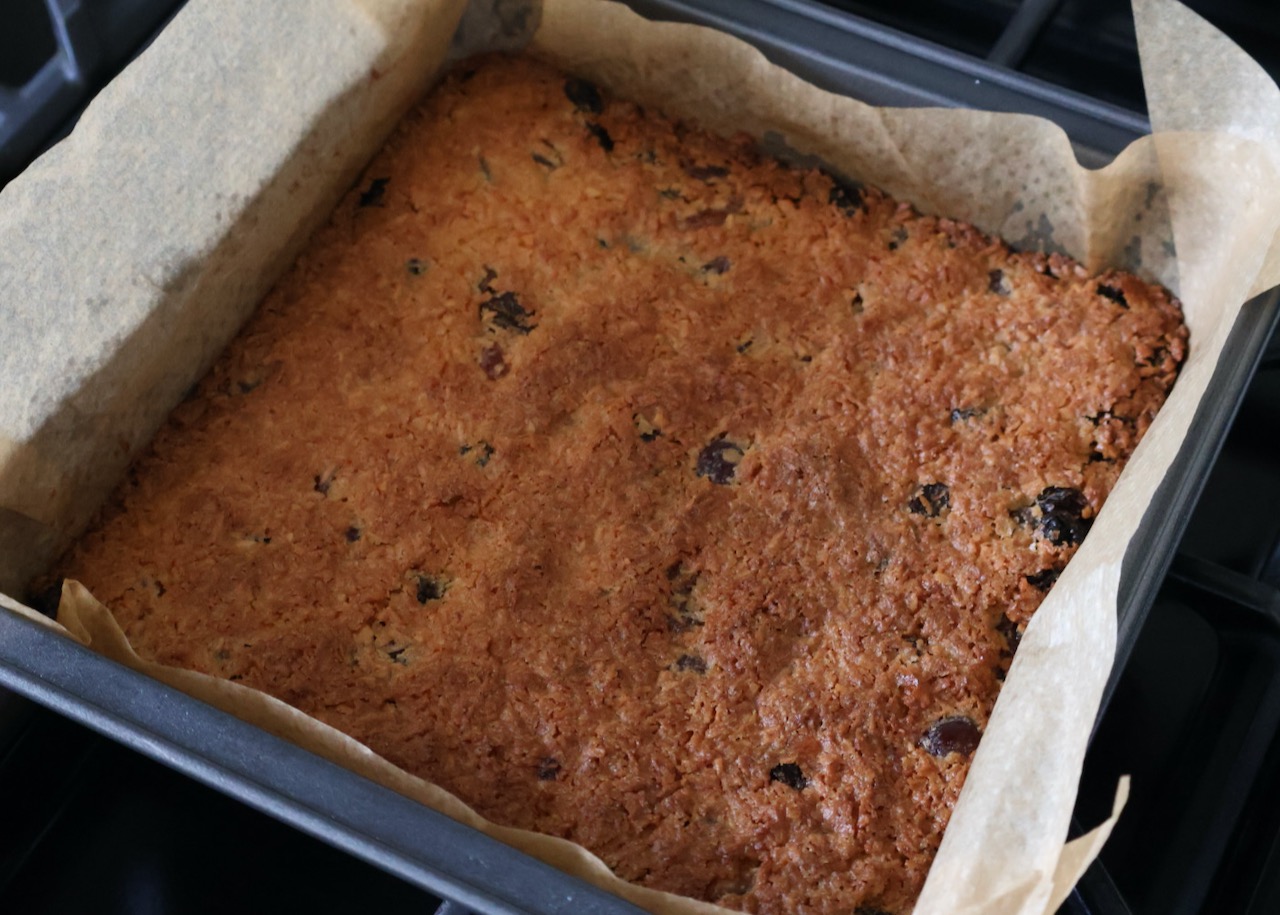
Once baked, remove from the oven and leave to cool for about 10 minutes.
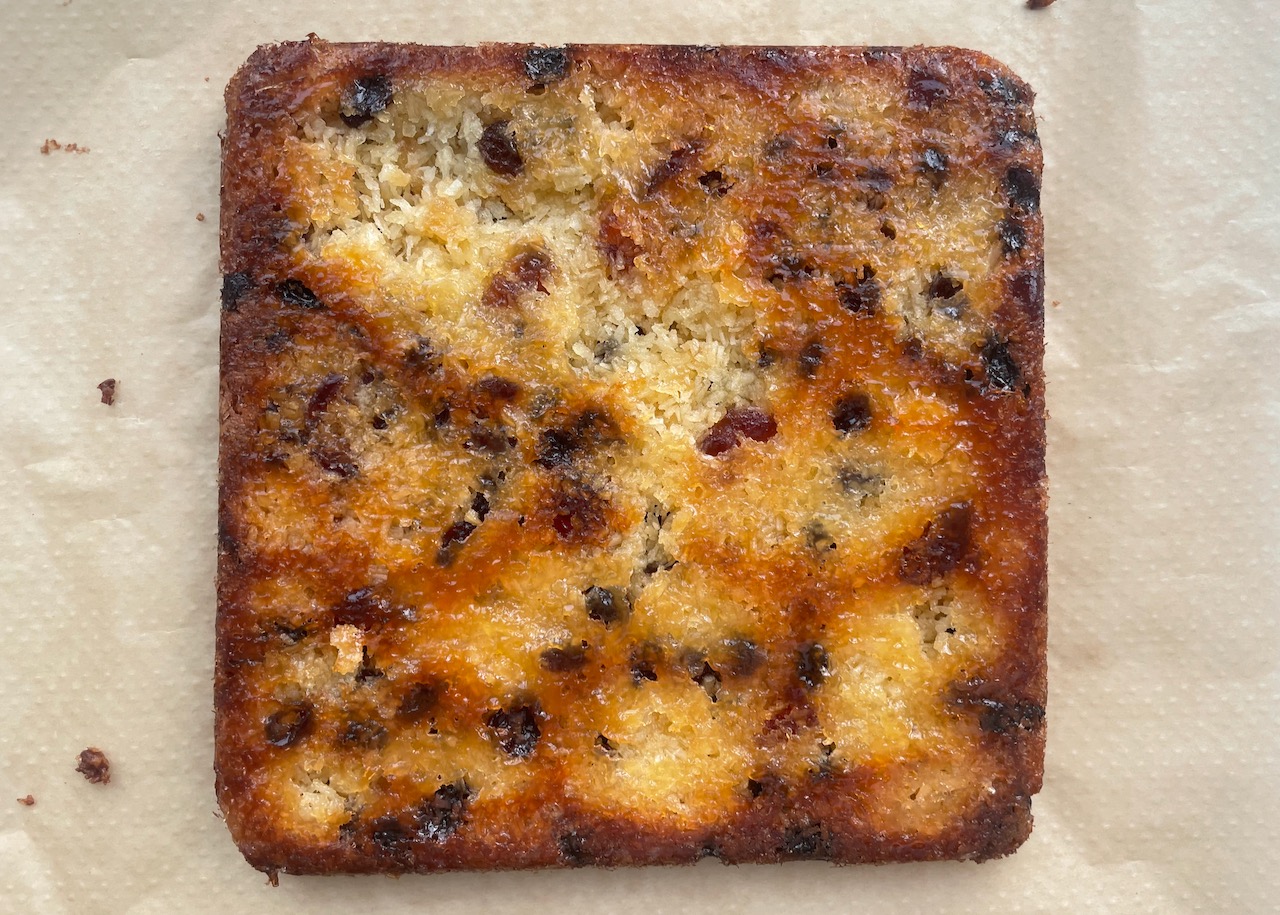
Transfer the bake out of the tin (paper side up) onto a clean piece of greaseproof paper and gently peel away the greaseproof attached to the bake. Don’t worry if you disturb a bit of the bake, the melted chocolate will cover any imperfections.
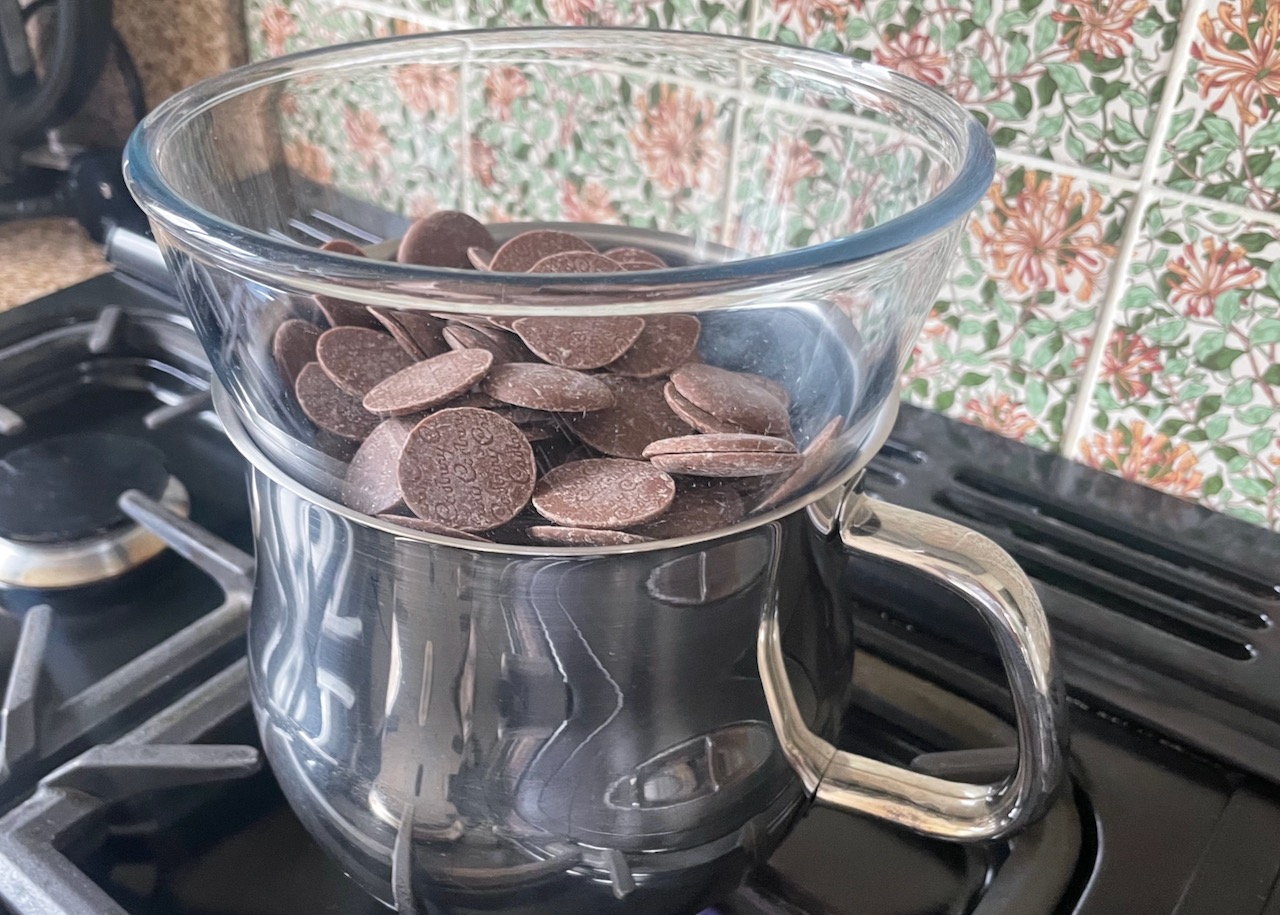
Melt the chocolate in a large heatproof bowl over a pan of simmering water.
Pour the melted chocolate over the top of the traybake and spread out evenly.
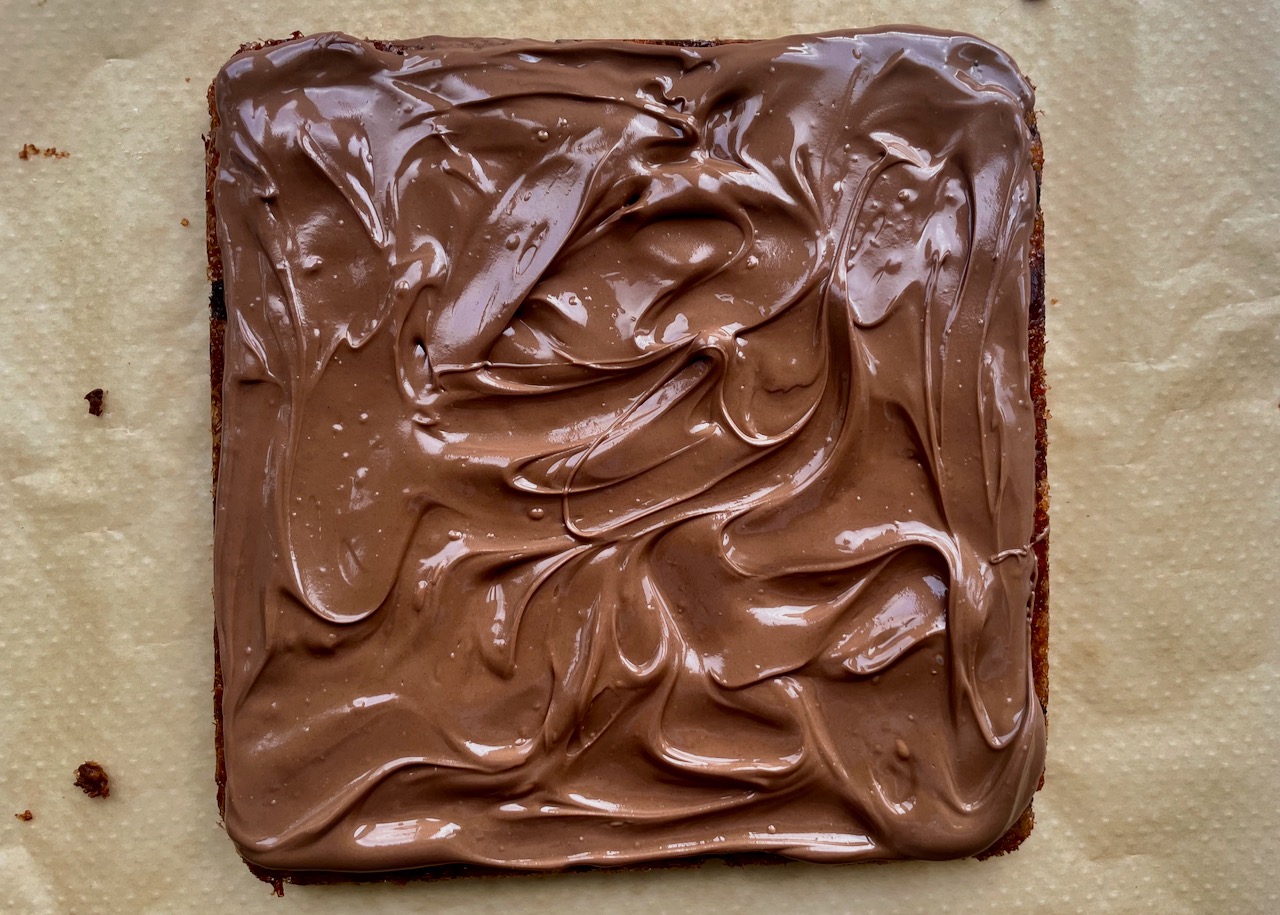
Once the chocolate has set, use a heavy knife to portion the picnic slice up into even sized squares.
I tested the picnic slices out with my friends and they were a huge hit. Hope, you and your family and friends love them as much!
For now,
Liz x
*Check this product to ensure that there are no gluten containing ingredients, ‘may contain’ or ‘not suitable’ for a coeliac/gluten free diet warnings on the pack.
After trying the ones you made Liz I thought I would try and make them myself, great recipe and your step by step instructions were really easy to follow. I was chuffed that mine actually looked like yours. The only thing I did differently was I only used 1 large bag of chocolate buttons which wasnt a problem as it still covered the traybake.
I can’t wait to try more of your recipes.
I’m so happy you had a go at the chocolate picnic slice recipe Paula and chuffed to bits it turned out well for you – not quite as many calories in each slice by using 1 bag of buttons either!!😉x